Empennage Fairings ( 1.5 hrs )
Friday, Sept 2
Steps 5 - 7, Sect 12-06 now done for both LH and RH Horiz Stab Tip Fairings. Ready to dimple HS and C'sink fiberglass...then blind rivet - but need to wait for epoxy resin to cure.
Saturday, September 3, 2016
Thursday, September 1, 2016
Empennage
Empennage Fairings ( 2 hrs )
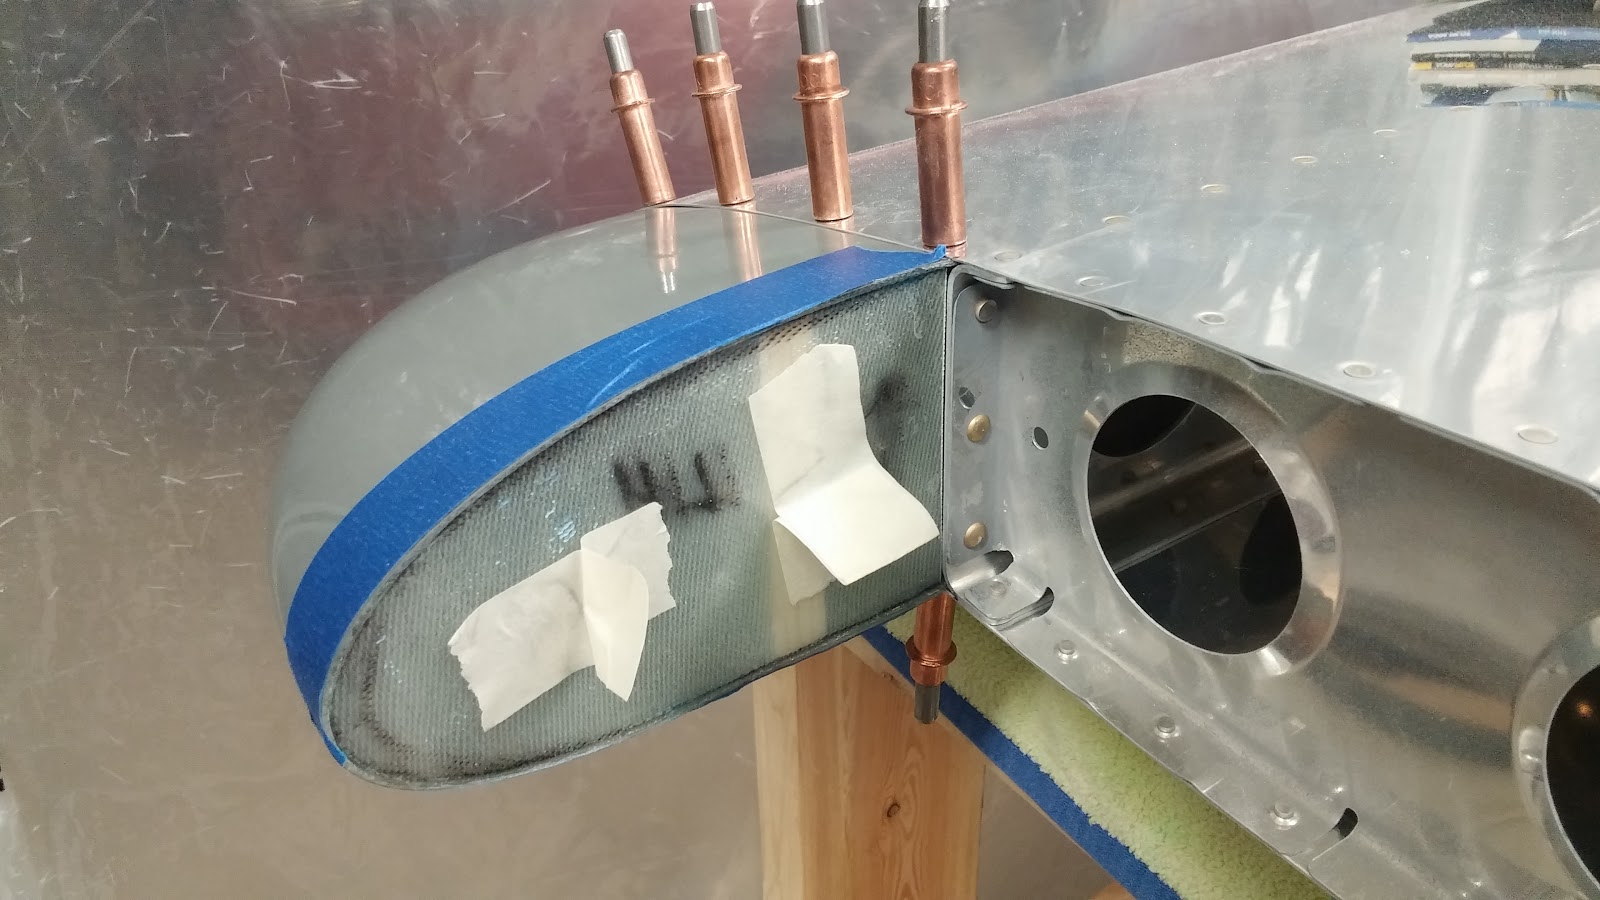
Cut out new fiberglass "sheet" to fit into LH Tip fairing. Decided to reinforce with 3/8" square balsa from top to bottom to insure Tip fairing was properly "expanded", and would not bow in or out (which could cause an interference). I recessed approx 1/16" so no possible interference with swinging counterweight on Elev. Being "inside" insured correct profile too. With Tip fairing installed via cleco's on Horiz Stab, I simply used cyanoacrylate (instant glue) to hold in position. Removed and added fiberglass layer to inside to secure to Tip. It's really solid now ! I used same batch of epoxy resin to make RH Tip plate ( 2 x 9 oz cloth layers).

Cut out new fiberglass "sheet" to fit into LH Tip fairing. Decided to reinforce with 3/8" square balsa from top to bottom to insure Tip fairing was properly "expanded", and would not bow in or out (which could cause an interference). I recessed approx 1/16" so no possible interference with swinging counterweight on Elev. Being "inside" insured correct profile too. With Tip fairing installed via cleco's on Horiz Stab, I simply used cyanoacrylate (instant glue) to hold in position. Removed and added fiberglass layer to inside to secure to Tip. It's really solid now ! I used same batch of epoxy resin to make RH Tip plate ( 2 x 9 oz cloth layers).
 |

Wednesday, August 31, 2016
Empennage
Empennage Fairings ( 3 hrs )
Layed up my first fiberglass "sheet" - two layers of 9 oz ( medium weight ). Per instructions, selected scrap aluminum and marked outline, then waxed surface using candle wax. The green cloth is nylon release ply. Since not sure this will work well, I've layed extra material to test. Using West System 105 Resin, and 206 slow Hardener. Also purchased West System pump pack, which makes dispensing correct amounts really simple and clean. The exposed surface seems to be smooth enough for the inside surface anyway. Otherwise, repeated trimming RH Tip just as I did yesterday for LH. Drilled #40, then Final Drilled via #30 reamer. This side seemed to go quicker since I learned considerably from LH Tip.

Layed up my first fiberglass "sheet" - two layers of 9 oz ( medium weight ). Per instructions, selected scrap aluminum and marked outline, then waxed surface using candle wax. The green cloth is nylon release ply. Since not sure this will work well, I've layed extra material to test. Using West System 105 Resin, and 206 slow Hardener. Also purchased West System pump pack, which makes dispensing correct amounts really simple and clean. The exposed surface seems to be smooth enough for the inside surface anyway. Otherwise, repeated trimming RH Tip just as I did yesterday for LH. Drilled #40, then Final Drilled via #30 reamer. This side seemed to go quicker since I learned considerably from LH Tip.

Tuesday, August 30, 2016
Empennage
Empennage Fairings ( 2 hrs )
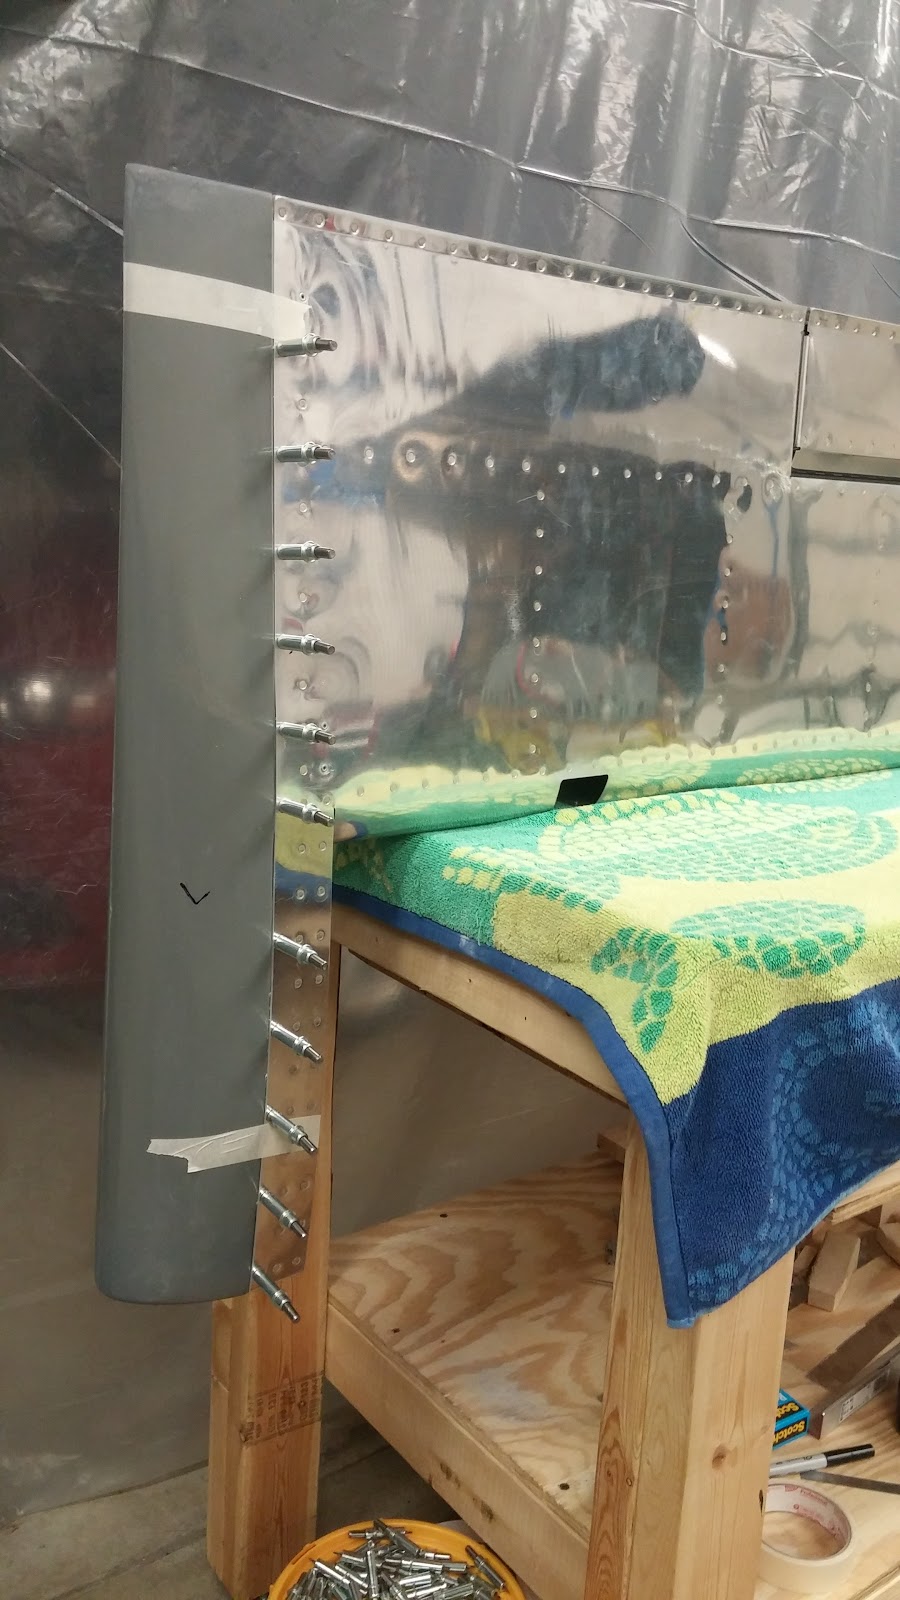
Sect 12-06. Trimmed Horiz Stab Tip Fairing to fit LH side. Lots of iterations (can't add material back easily) to accomplish 1/8" gap. I created a "template" to transfer front edge of Elevator to rear edge of Tip. Once trimmed, I then removed 1/8" for clearance...checking swing clearance of elevator as I progressed.
Drilled #40, then FD #30 reamer, using cleco's as I progressed. Cut template for the fiberglass sheet to fit just inside - slightly recessed for best clearance as Elev swings up and down.


Sect 12-06. Trimmed Horiz Stab Tip Fairing to fit LH side. Lots of iterations (can't add material back easily) to accomplish 1/8" gap. I created a "template" to transfer front edge of Elevator to rear edge of Tip. Once trimmed, I then removed 1/8" for clearance...checking swing clearance of elevator as I progressed.
 |
| 1 transfer front edge Elev to Tip. |
 |
| 2 trimmed. |
 |
| 3 adding 1/8" clearance line |
 |
| 4 Clearance accomplished |
Drilled #40, then FD #30 reamer, using cleco's as I progressed. Cut template for the fiberglass sheet to fit just inside - slightly recessed for best clearance as Elev swings up and down.


Empennage
Empennage Fairings ( 2.5 hrs ) Monday, Aug 29
Completed blind riveting LH and RH Elev Tips. First C'Sunk holes in RH Tip, and dimpled RH Elev. Added cyanoacrylate to each fiberglass hole...it really strengthens the fibers surrounding the hole, since very thin after C'sinking each. This enables fiberglass to be brought up to Elev surface without "stripping out" the holes with clecos, or the blind rivets when inserted. Had time to prepare LH and RH Horiz Tip fairings to 1/2" flanges.

Completed blind riveting LH and RH Elev Tips. First C'Sunk holes in RH Tip, and dimpled RH Elev. Added cyanoacrylate to each fiberglass hole...it really strengthens the fibers surrounding the hole, since very thin after C'sinking each. This enables fiberglass to be brought up to Elev surface without "stripping out" the holes with clecos, or the blind rivets when inserted. Had time to prepare LH and RH Horiz Tip fairings to 1/2" flanges.
 |
| Dimpled & Countersunk. Ready to blind rivet. |

Thursday, August 25, 2016
Empennage
Empennage Fairings ( 2 hrs )
Dimpled LH Elevator skins at Tip mounting holes. Required removal of Counterweights to access most forward holes - so re-installed with new lock nuts & retorqued. This time I applied JB Weld epoxy adhesive to each counterweight to reduce likelihood of ever coming loose. Very carefully countersunk each fiberglass hole. These have to be deep enough for the dimples, but not too deep to start enlarging the holes !
When re-assembling Tip with clecos - I discovered a couple holes on top and bottom near center had the cleco "pull through". Due to countersinks, insufficient fiberglass at those holes to pull the shell outward 1/4 inch toward the skins (during drilling I used wood spacers temporarily to push Tip outward to skin surfaces...but didn't want to leave them inside unless absolutely necessary. So I reinforced hole perimeters with cyanoacrylate - then cleco's pulled fiberglass shells outward so flush with skin. Yeah ! ( Van's should design/process the Tips so actually oversized in center area...so would require lightly squeezing between top and bottom skins...instead of having to pull outward ) Expect OK when I blind rivet these next.
Wednesday, August 24, 2016
Empennage
Empennage Fairings ( 3 hrs )
Worked on LH and RH Elevator Tips (sect 12-05)...trimming to fit at TE, and reduced flanges to 1/2". Very satisfying to see good fit up along entire edge of Elevator(s). Drilled #30 holes in both, cleco'ing as I went. ( Note: added simple wood blocks as temporary spacers to spread fiberglass tips in middle section for good fit prior to drilling ). Used reamer to Final Drill the #40 holes for RH. Ready to do same for LH, but decided to go swimming instead !


Worked on LH and RH Elevator Tips (sect 12-05)...trimming to fit at TE, and reduced flanges to 1/2". Very satisfying to see good fit up along entire edge of Elevator(s). Drilled #30 holes in both, cleco'ing as I went. ( Note: added simple wood blocks as temporary spacers to spread fiberglass tips in middle section for good fit prior to drilling ). Used reamer to Final Drill the #40 holes for RH. Ready to do same for LH, but decided to go swimming instead !

Subscribe to:
Posts (Atom)