I've started my adventure to build a Van's Aircraft RV14a. For several years, I've been planning to build an Experimental (homebuilt) airplane - once retired.
But first, I needed to get my Pilot's License. (Kinda key !) So... first things first: I retired March 2014 from Caterpillar - and started flying lessons in the Summer of 2014. Soloed a day after Christmas, and got my Private July 2015. Shop set up, tools acquisition, and practise kits during Fall launched me into my build starting Dec 31, 2015 !

I've chosen to build the RV14a since it's about 10% larger than Van's prior models - so it fits my 6'4" frame well. Van's is well known for great value & outstanding flying qualities. It's been a no brainer decision for me. A tour of their facilities and demo flight in Oct 2013 clinched the deal. My wife - also a pilot - exclaimed after her demo flight "retire NOW so you can build one of these". The RV14a fits my mission of a good compromise between cross country & aerobatics. Plus...I fit, too.

So far, one month into building, it's been rewarding. Very challenging, but certainly a learning experience. The builder community is terrific - as is Van's tech support. I'm finished with the Vert Stab and Rudder (Jan 2016). So... with a 5 month delivery lead time, I've ordered the Quick Build Wings and Fuselage.

I hope this blog assists other new builders, just like several others have been valuable to me. Plus it will serve to document my build step by step. Please drop me a line via the "contact me" form on lower RH margin.
Update: April 2020 relocated to Wickenburg, Az to escape Illinois winters.

Thursday, August 2, 2018

Finish Kit

Nose Gear Leg Fairing ( 3 hrs )

Aligned & clamped hinge along aft edge, then drilled #40 holes for rivets per 46A-16 & -17.  Had to deviate from Vans instructions since Leg Fairing is primed, so NOT translucent.  Simply transferred centerline from hinge to surface of Fairing on each end.  Machine C'sunk hole for flush rivets along that line.  Trimmed fiberglass flanges.  Very pleased with how well T.E. turned out.   Ready to deburr and prime hinge, then rivet.
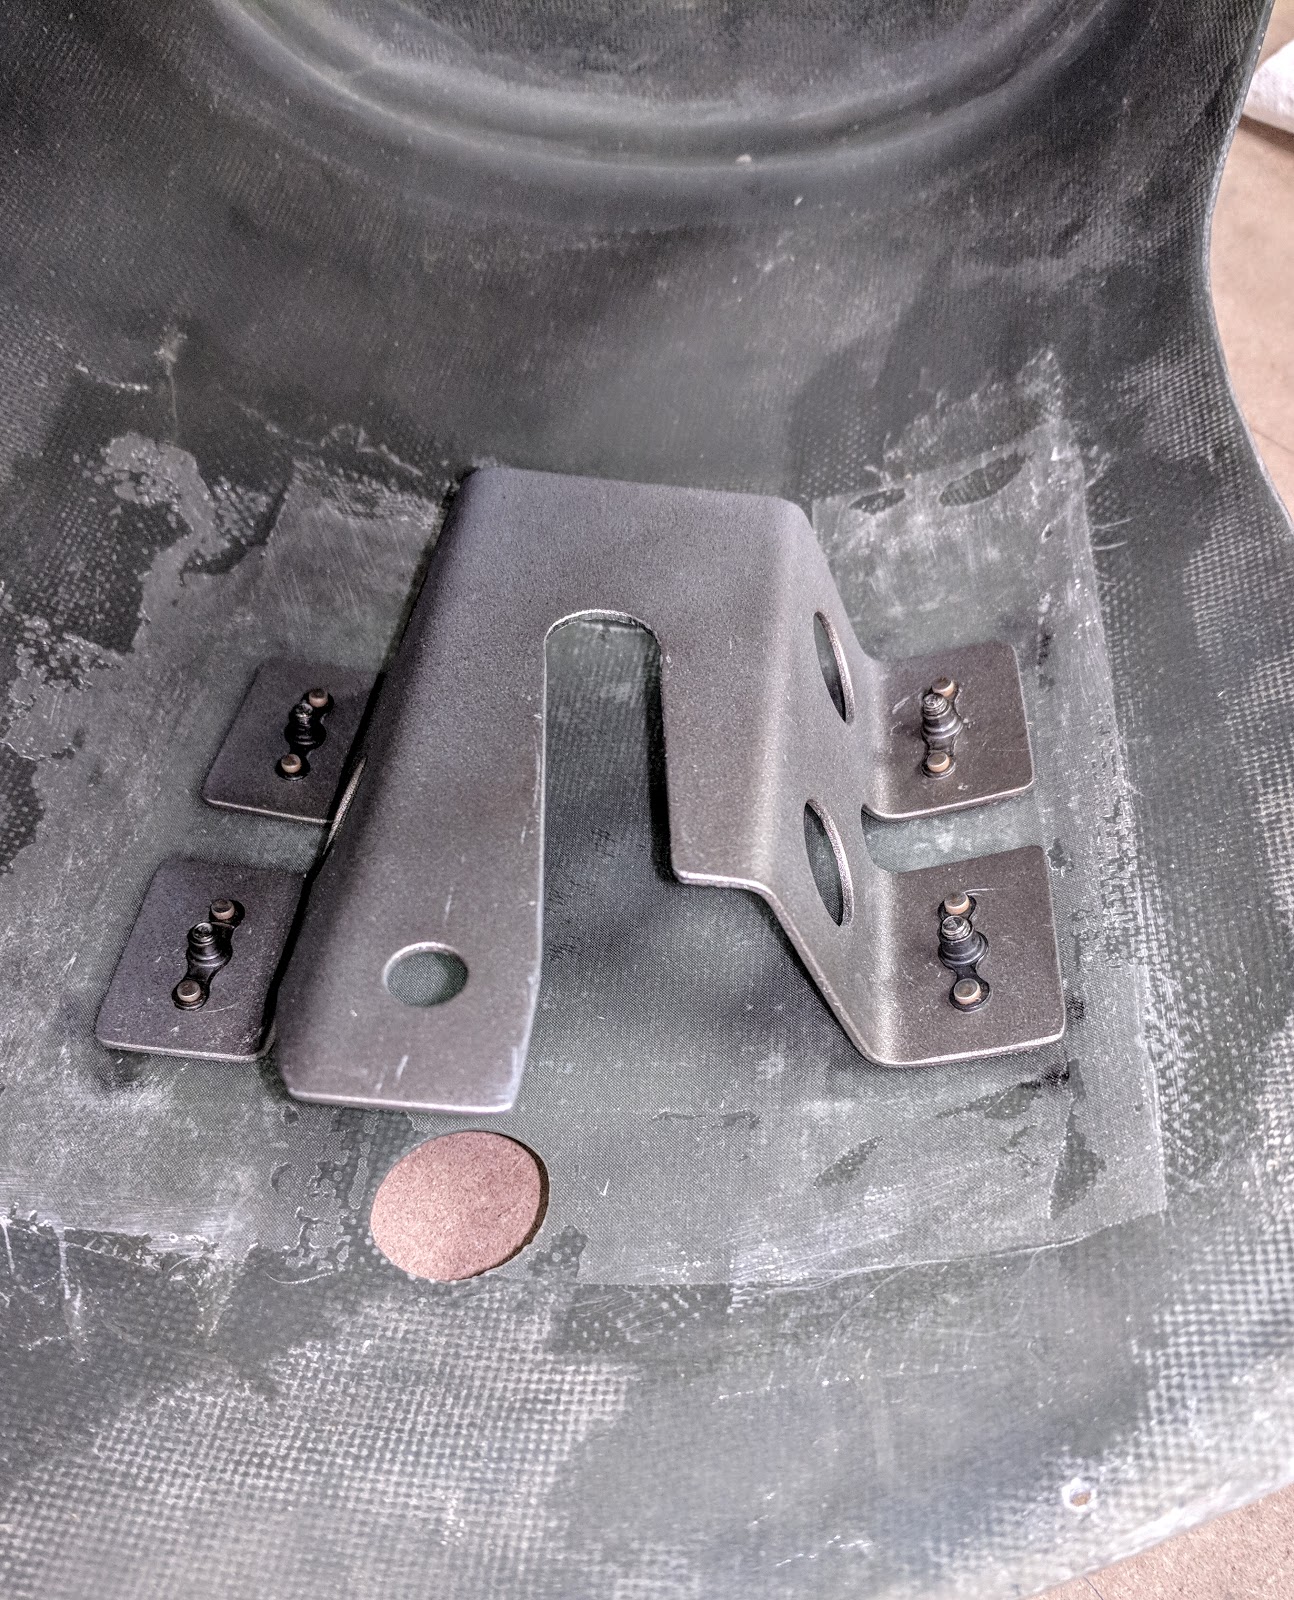
holes machine c'sunk.  

flanges removed, revealing trailing edge


flanges trimmed off

Tuesday, July 31, 2018

Finish Kit

Front Wheel and Leg Fairing ( 4 hrs )

Completed Mach C'sinking 6-32 screws attaching forward to aft shell Steps 9 & 10 at Sect 46A-14.  Lifted engine/airframe again to confirm clearance for full steering angles left and right.  Aligned and trimmed Nose Gear Leg Fairing per steps 1-4, Sect 46A-15.  Transferred bracket locations to fiberglass (much harder with later version painted fairings that are not translucent).   Cut .063 Piano Hinges to 28" length and marked rivet locations.  Sanded excess resin inside Fairing so hinges fit flush per Steps 1-3, 46A-16.
filler piece at top, and screws countersunk flush

tah - dah !  

trimming after cleco-ing along T.E. flange

bracket locations transferred, rivet locations marked on hinge

Monday, July 30, 2018

Finish Kit

Front Wheel Fairing ( 2 hrs )

Per 46A-14, Steps 1-7 -  final drilled #27 holes in forward shell attach holes.  Riveted 8 nutplates onto aft shell.   Fit piece of fiberglass scrap to top center of aft shell.  Bonded on with epoxy instead of two rivets per Vans instructions.
"scrap" piece from forward shell bonded to
complete the opening for the Gear Leg. 
(white paper was the template created)

Saturday, July 28, 2018

Finish Kit

Front Wheel Fairing ( 3 hrs )

Riveted 8 nutplates onto two Brackets per Sect 46A-13.  Machine C'sunk fiberglass per 46A-14 for 8-32 screws.  Re-assembled onto Nose Wheel -  fits good, and looks great.  Next:  nutplates added to attach front section to rear Fairing.


Friday, July 27, 2018

Finish Kit

Front Wheel Fairing ( 1 hr )

I got to take a 30 min flight this am on B -17.  Awesome !  Moved to various stations for great photos, but they wouldn't let me fly it.  Mind blowing how brave our young men in WWII were.  If you get opportunity, just do it!       Back to shop, I re-drilled the Bracket holes through reinforcing fiberglass, then enlarged to final #19 size.   Re-primed Brackets since they'd gotten scruffy.  Ready to add nutplates.


a great view....in peacetime


lower ball turrent


Thursday, July 26, 2018

Finish Kit

Front Wheel Fairing ( 2 hrs )

Decided to use process similar to earlier RV models to reinforce Fairing at Brackets (vs Vans method for RV14a using epoxy flox glob).  So, epoxied 3 layers of 9 oz. fiberglass cloth to contact zones for Mounting Brackets.   One large piece between top to bottom area, then  multiple strips immediately under contact area.  Applied peel ply layer and  "squeegeed" smooth, checking to insure no air bubbles.
Also did final pass trimming wheel opening
1 of 2 sides.  I marked hole center-lines
on outside so I can re-drill once cured.
removed peel ply.

lightweight reinforcement, but
also more depth for C'sink screw heads

Tuesday, July 24, 2018

Finish Kit

Front Wheel Fairing ( 3 hrs )

Trimmed openings to front and rear halves to "5/8 inch clearance to undeflated tire".  Finished 1" dia holes for access to Standoffs.  Had to tap 3/8-24 threads in alum Gear Legs for Standoff bolts since "tight" and beginning to gall.  Seems OK now...whew.  Almost ready to finish with nutplates on Brackets and for securing front to rear halves.  But 1st need to either follow epoxy flox process per Vans instructions, OR simply add 3-5 layers of fiberglass/epoxy to inside to strengthen per other builders ( such as Carl & Rafael tricycle-gear-legs--fairings ).