Nose Wheel Gear Leg Fairing ( 4 hrs )
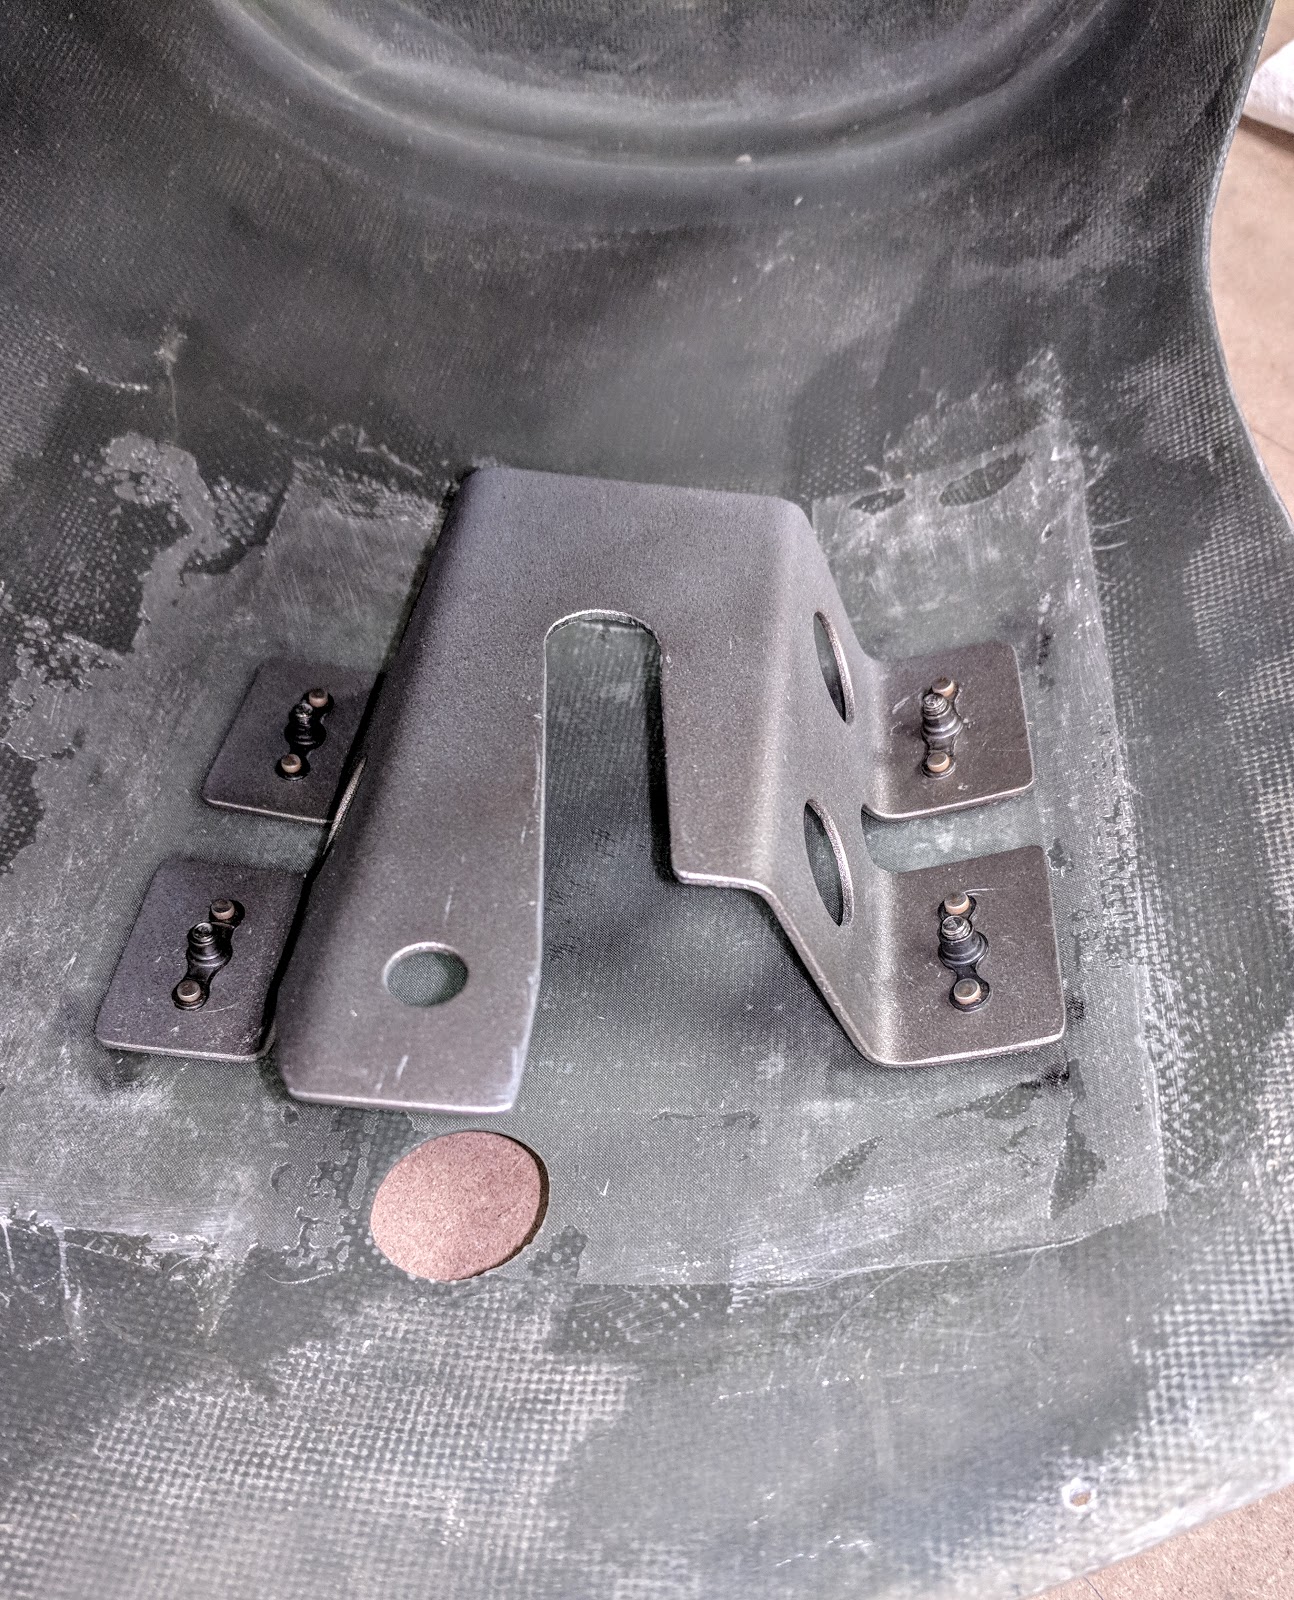
After priming, riveted hinge halves to Leg Fairing. Cut hinge pin to length included 90 deg bend on top end. Drilled hole for safety wire to retain pin. Re-mounted Fairing and confirmed alignment. Drilled top #12 holes for AN3-23 bolt, and #19 holes for lower screw locations. The lower ones were challenging since my Fairing is NOT translucent. Due to steel Leg, the spherical magnets do no provide accurate hole indication (entire bracket is magnetized, so hole position is not obvious). Resorted to sanding off primer/filler (Vans original parts did not included pre-filled/primed fiberglass) and using bright back-lighting to reveal hole location. Worked ok. Added 2 nutplates at lower mount. Only final trim 1/8" clearance to Wheel Fairing to complete. Ref Sect 46A-18.