I've started my adventure to build a Van's Aircraft RV14a. For several years, I've been planning to build an Experimental (homebuilt) airplane - once retired.
But first, I needed to get my Pilot's License. (Kinda key !) So... first things first: I retired March 2014 from Caterpillar - and started flying lessons in the Summer of 2014. Soloed a day after Christmas, and got my Private July 2015. Shop set up, tools acquisition, and practise kits during Fall launched me into my build starting Dec 31, 2015 !

I've chosen to build the RV14a since it's about 10% larger than Van's prior models - so it fits my 6'4" frame well. Van's is well known for great value & outstanding flying qualities. It's been a no brainer decision for me. A tour of their facilities and demo flight in Oct 2013 clinched the deal. My wife - also a pilot - exclaimed after her demo flight "retire NOW so you can build one of these". The RV14a fits my mission of a good compromise between cross country & aerobatics. Plus...I fit, too.

So far, one month into building, it's been rewarding. Very challenging, but certainly a learning experience. The builder community is terrific - as is Van's tech support. I'm finished with the Vert Stab and Rudder (Jan 2016). So... with a 5 month delivery lead time, I've ordered the Quick Build Wings and Fuselage.

I hope this blog assists other new builders, just like several others have been valuable to me. Plus it will serve to document my build step by step. Please drop me a line via the "contact me" form on lower RH margin.
Update: April 2020 relocated to Wickenburg, Az to escape Illinois winters.

Tuesday, August 28, 2018

Empennage

Empennage Fairing ( 4 hrs )

Riveted 7 nutplates to Aft Fuselage per Sect 12-12.  The 4 on lower sides were challenging to reach with my large hands twisting through openings.   Had to remove H.S., loose ELT...then success!   Remounted H.S., replaced temporary nuts on 4 bolts holding VS-01402 VS Bracket, and torqued.  (note in picture, hole for mounting VS is skewed left, giving VS right turning bias in flight offsetting engine torque, etc.)  Re-mounted VS, then added Gap Covers.  Discovered I'd forgotten to install nutplate at aft position.  I'd dimpled earlier, so added K1100-6 nuplates which was easy to do while VS on Fuse.  Re-installed Emp Fairing w/ 27 flat head screws.  SWEET !   Next:  make final trim, and fill few small gaps with epoxy/flox mix per Sect 12-13.
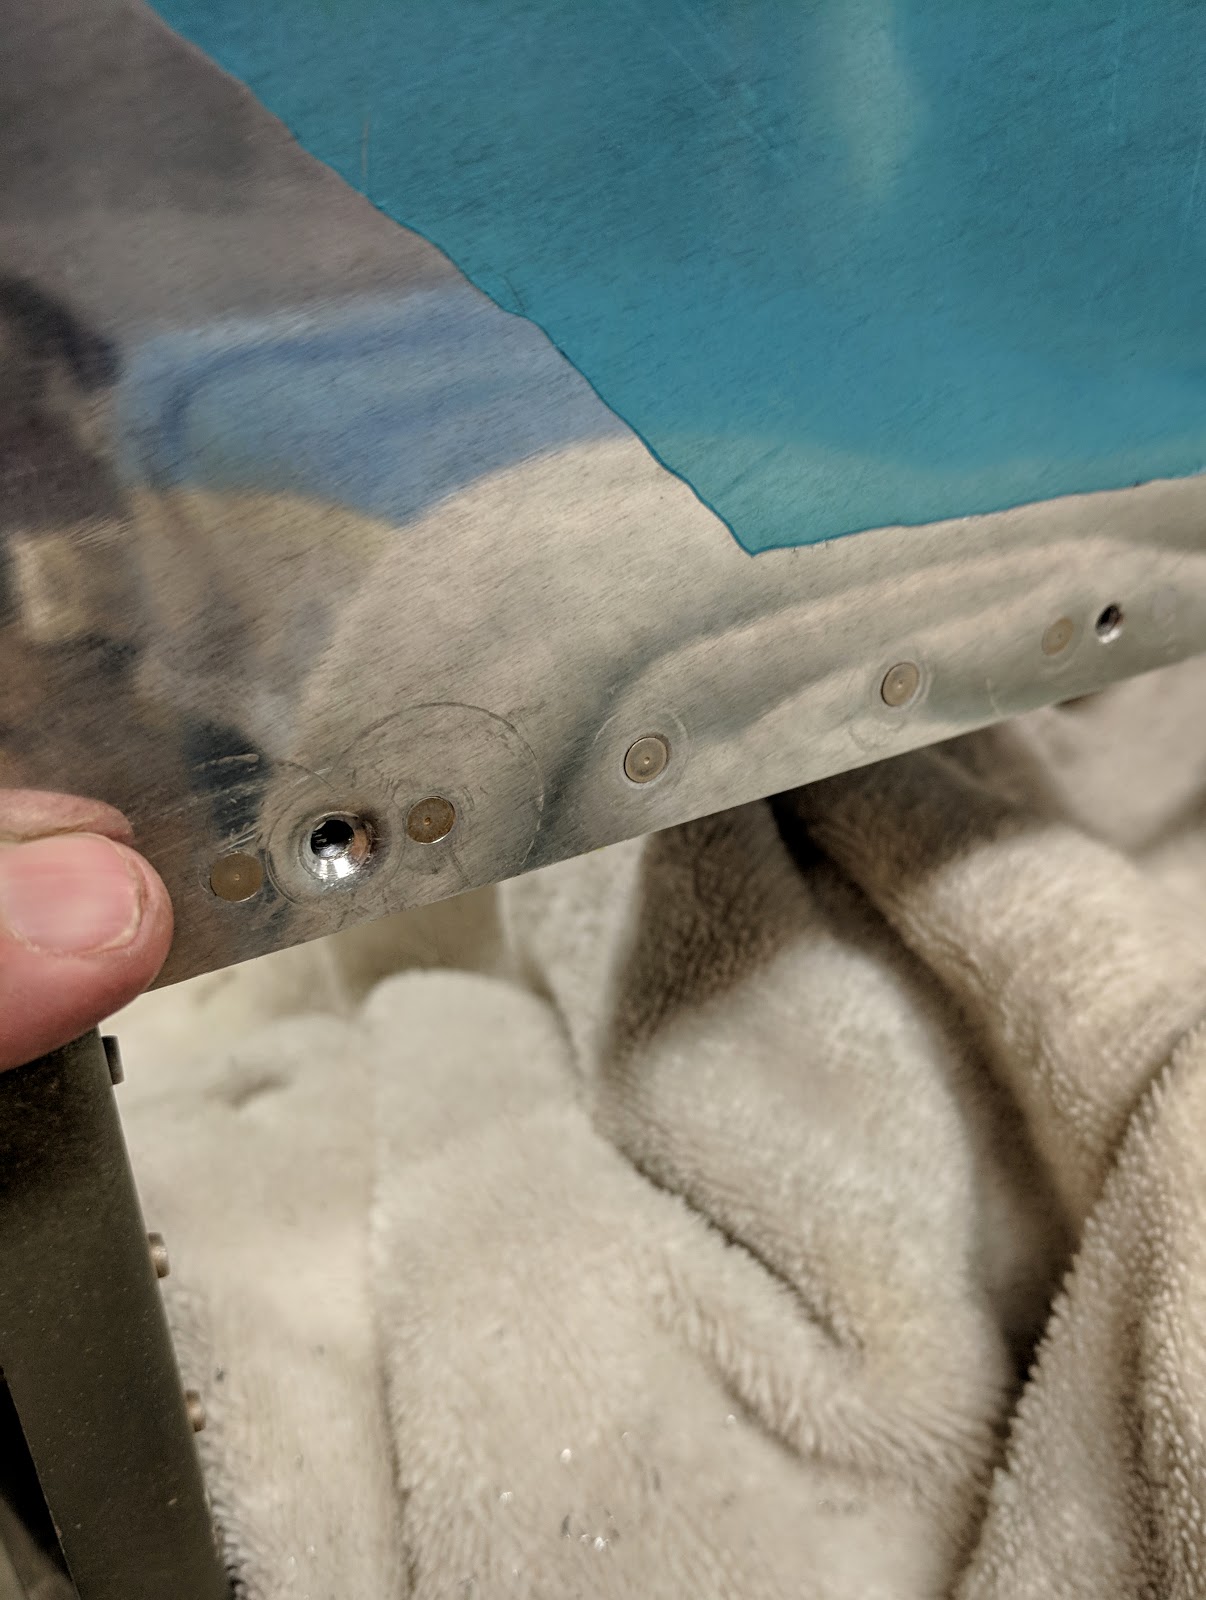
 torq seal (yellow) added once nuts torqued. 
Others are still temp, since will remove HS again
lower nutplates were challenge to reach,
even w/ HS removed


installed aft nutplate for Gap Cover
1st installation with flush screws