I've started my adventure to build a Van's Aircraft RV14a. For several years, I've been planning to build an Experimental (homebuilt) airplane - once retired.
But first, I needed to get my Pilot's License. (Kinda key !) So... first things first: I retired March 2014 from Caterpillar - and started flying lessons in the Summer of 2014. Soloed a day after Christmas, and got my Private July 2015. Shop set up, tools acquisition, and practise kits during Fall launched me into my build starting Dec 31, 2015 !

I've chosen to build the RV14a since it's about 10% larger than Van's prior models - so it fits my 6'4" frame well. Van's is well known for great value & outstanding flying qualities. It's been a no brainer decision for me. A tour of their facilities and demo flight in Oct 2013 clinched the deal. My wife - also a pilot - exclaimed after her demo flight "retire NOW so you can build one of these". The RV14a fits my mission of a good compromise between cross country & aerobatics. Plus...I fit, too.

So far, one month into building, it's been rewarding. Very challenging, but certainly a learning experience. The builder community is terrific - as is Van's tech support. I'm finished with the Vert Stab and Rudder (Jan 2016). So... with a 5 month delivery lead time, I've ordered the Quick Build Wings and Fuselage.

I hope this blog assists other new builders, just like several others have been valuable to me. Plus it will serve to document my build step by step. Please drop me a line via the "contact me" form on lower RH margin.
Update: April 2020 relocated to Wickenburg, Az to escape Illinois winters.

Monday, October 30, 2017

Finish Kit

Canopy Handles, Seal notched ( 4 hrs )

Completed Step 9, riveting Side Skin, then riveted on LH & RH Canopy Handles.   Some challenges getting bucking bar into position, especially trying to avoid marring interior paint.   For one rivet, took me third time (aaargh !) to get it just right - but I'm getting good at drilling out rivets to replace.  Deburred two Seal Retainers (edges and holes per usual), then per Steps 11 -13 used to mark locations to notch Seal (clearance to fasteners on Aft Frame).  Instructions recommend a paper punch to put radii on notch corners, but mine wasn't cooperating.  So I sharpened the end of  a scrap tube which worked perfectly.
nice aerodynamic shape ! for Canopy Handles

notching seal

Saturday, October 28, 2017

Finish Kit

Riveting Canopy Side Skins ( 4 hrs )

Determined needed a few thousands deeper C'sinks along several locations on RH Side Rail for Skin to be uniform and tight at top edge along Canopy.  Then I could add machine screws and nuts along LH & RH Rails - loosely per instructions.   I've substituted 6 lobe (Torx) SS screws instead of the provided SS Phillips head screws (per Carl and Rafael's example RV14a build).   Far less "stripping" of heads, and they look cool too.  here's source   Next riveted Side Skins, completing RH side and most of LH side.   Looking really good !


wrapped edges of bucking bar w/ tape,  but still some marking on fresh interior paint.   I'll have to mask and touch up spray...

Friday, October 27, 2017

Finish Kit

Countersinking Holes in Canopy ( 4 hrs )

Machine C'sunk all the holes around Canopy.  Took lot of time - proceeding carefully - and checking each hole with "gage" to be sure correct depth so heads would be flush.   Decided to arrange Canopy Frame on Fuselage (instead of bench) to insure alignment.   But next steps required setting up 2x4's on bench for access to rivet on Side Skins.  So with Nancy's help again, removed Canopy, then Frame, then  set up on bench per instructions.
1st time Canopy on after paint

 
checking screw head will be flush


set up on bench.   rivet Side Skins on next...

Thursday, October 26, 2017

Finish Kit

Painting Canopy Frame ( 4 hrs )

With decent weather today ( sunny, 65 deg F) vs forecast for 40's for next several days, I worked quickly to be able to paint outdoors.  Otherwise, I'd need to set up my temporary paint booth, and the
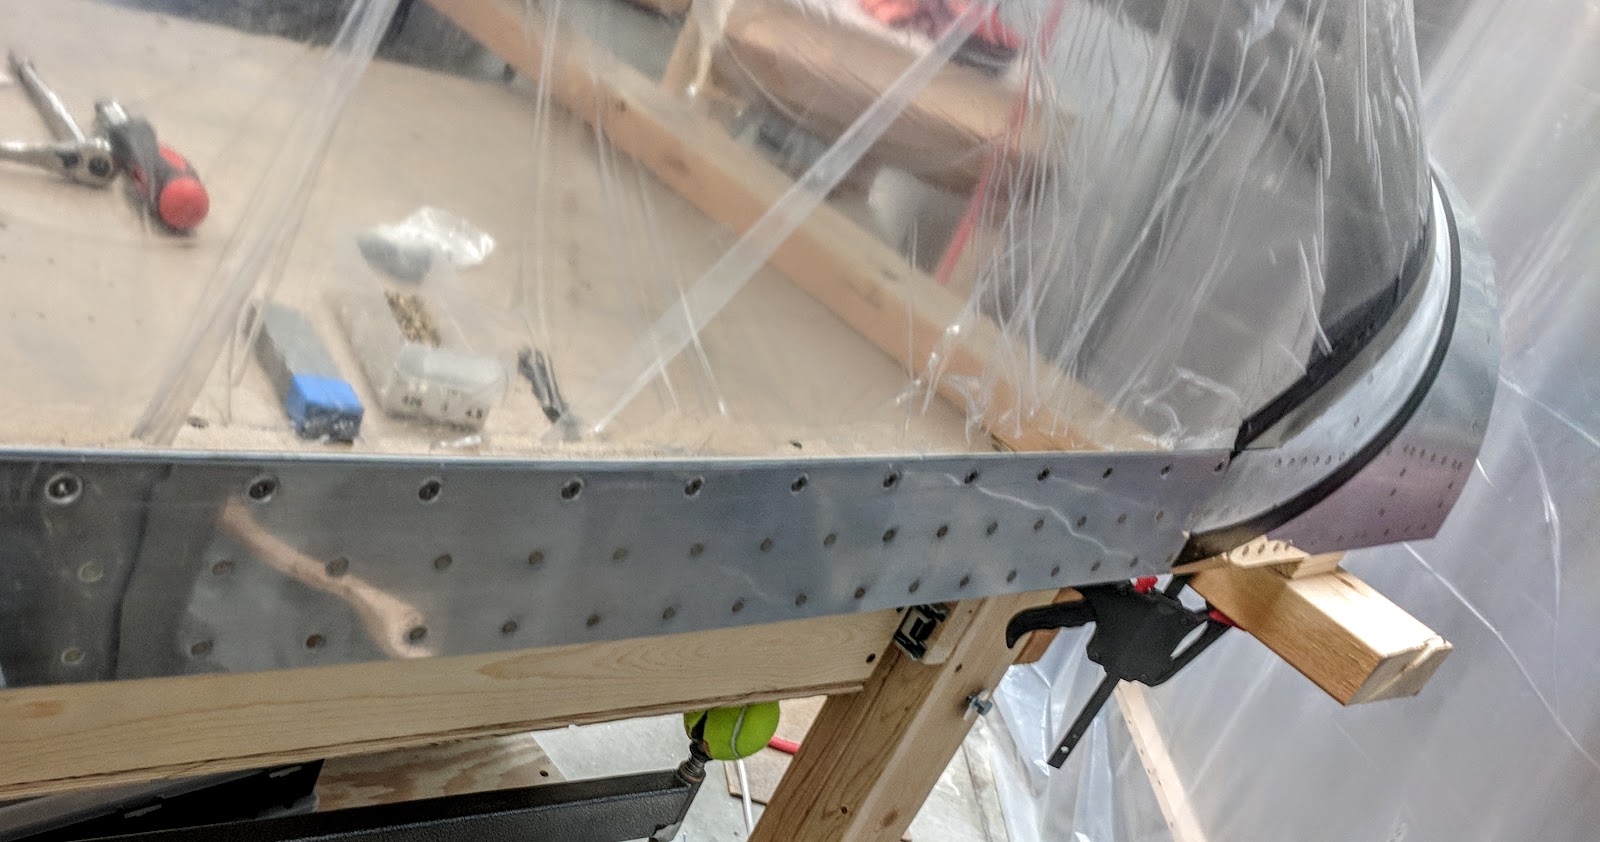
Frame would be a tight fit.  I prepped the Frame by scuffing followed by cleaning with acetone, then sprayed the acid etching Napa 7720 Primer as usual.  While drying, I dimpled the Canopy attach holes in C01419 L & R Side Skins.   I primed these, and the shims for the Canopy Rails.   Next, sprayed Rustoleum Professional "aluminum" (same as cockpit interior).  Then masked off so I could spray Glare Shield with Rustoleum Satin Black.  Determined too shiny, so I made final pass with Flat Black.   Success !  Ready to re-assembly Canopy onto Frame.
scuffed portions not yet primed.  Glare shield on other side, too
Primer applied.   
Primer, before adding interior final color

Final interior color applied.

Simple...  seems to be working well.


Glare shield in flat black.   

Wednesday, October 25, 2017

Finish Kit

Canopy  ( 3 hrs )

Completed Steps 8 & 13 sanding and filing edge of Canopy beyond point S, and 100% sanding/scuff aluminum in fairing area.   Started 38-26, removing Canopy to deburr all holes.  Chamfered (deburr ) inside Canopy at all holes, then deburred all aluminum new holes on Frame.


Tuesday, October 24, 2017

Finish Kit

Marking Fairing Lines on Canopy ( 5 hrs )

Finished drilling holes in Canopy.  Amen.   Marked glare shield area (paint flat black soon).   Per Steps 1-13 Sect 38-25, marked Aft Fairing Line and Fwd Fairing Line.  Positioned corner templates also.  Then laid down double layer of 3M electrical (vinyl) tape.  Ready to scuff/sand Canopy Skin and sand/file edge of Canopy past point S, to create smooth transition for fairing around the "corners".   Vans provides 4 "how to" videos for next steps.  Here's first: Canopy Fairing


Monday, October 23, 2017

Finish Kit

Drill Canopy  ( 3 hrs )

Completed Step 4 (initial #40 size holes along Rail), then completed most of Steps 1-5 Sect 38-24 to Final Drill all holes to larger #27 size in Canopy.   Chamfered holes fist to minimize cracking/chipping in plexiglass with larger drill size.   So far...A-OK.
completed all holes at #40 size

increased to #27 size

more to do, but almost done...

Sunday, October 22, 2017

Finish Kit

More Drilling Canopy ( 1 hr )

More Canopy drilling completing Step 3, and about half of Step 4 per Sect 38-23.   "Plastic" drill is so dull (by intention for drilling plexiglass) in order to complete holes through aluminum Rail Ass'ly, I've been switching to std #40 bit after drilling through canopy.  Also, at each hole along Aft edge, I'm chamfering each hole to minimize cracking now and when enlarged soon (per advice on VAF forums).
approx 10 remain each side

inside view from approx pilot's eyes (if tall like I am ! )

inside view for much shorter pilot (if at center, too)

Saturday, October 21, 2017

Finish Kit

Drilling Canopy ( 4 hrs )

Ready to drill Canopy per Step 9 at 38-22.  Weighted w/ stacks of magazines from recycle pile (cheap, "soft" - just tape around a bundle ) instead of lead or steel weights.   Also used ratchet strap per instructions to initially hold Canopy in position (not very tight so not distorting shape).  Also edges along sides were under minimum of 4.3mm, so added provided shim along Rail.  Prior to locking down final time, I determined I still needed to remove more from rear edge to provide at least 0.8mm spacing to window shim.  Lots of sanding (again!), but finally got it done.
I later came back into shop and drilled "Step 2" #40 size holes starting at top, center along aft edge.  First 14 done.  Yay!


Friday, October 20, 2017

Finish Kit

Canopy Trim to Fit ( 4 hrs )

At Sect 38-21, Steps 8 & 9 marked then chamfered edge of Canopy along 3 inches at "point Oscar" in detail drawing.  Then used fabricated 0.040" thick feeler gauge to locate additional areas along edge to trim/chamfer per Steps 1-4 at Sect 38-22.   Many iterations of mounting Canopy on Frame, then marking again, and filing/sanding some more.  Each time Nancy helped lift Canopy into position.  Eventually achieved good fit along entire front edge and skin.
rotary drum sander works really well for initial passes

Wednesday, October 18, 2017

Finish Kit

Canopy ( 4 hrs )

Per Sect 38-21, Steps 1-4 located template on Canopy Skin, then positioned Canopy onto Frame Ass'ly for 1st time.    Worked Canopy into best fit alignment and marked centerline in Fwd and Aft areas.  Then in Steps 5-7, marked Aft edge overhang.  Heated garage to 75 deg to minimize chance of cracking.    Removed Canopy and trimmed rear edge using dremel with drum sander (not enough to use cut off wheel) and lots of hand sanding...for couple hours.  Ultimately smoothed edge w/ 400 grit followed by 600 grit sandpaper (smoother than edge as supplied).
 

Tuesday, October 17, 2017

Finish Kit

Canopy Frame onto Fuselage ( 3 hrs )

Hooray !  Completed Steps 1-7 at Sect 38-19 including bolting on Pin Blocks, riveting Brackets for Micro-switch, and adding 4 Alignment Blocks to Aft Frame.   Lots of details, but went quickly.  Nancy helped lift and guide Canopy Frame Ass'ly onto Fuselage via Hinge Pins.  Per Steps 1-8 Sect 38-20.  Perfect fit & alignment all around - very rewarding.


Monday, October 16, 2017

Finish Kit

Canopy Assembly ( 2 hrs )

Completed riveting Rail Assemblies, then riveted Aft Canopy Frame per Steps 2 & 3, Sect 38-18.

Saturday, October 14, 2017

Finish Kit

Canopy Frame Assembly ( 4 hrs )

Completed riveting Close Out panel on Canopy Frame, Steps 6-10, Sect 38-17.   Maintained 0.0 degree Twist ..whew !  At Sect 38-18, assembled LH and RH Rail Assemblies and Shim onto Canopy Frame, adding aft fixture.  Riveted most before needing to call it a good day (variety of sizes and reach/clearance meant some trial and error to determine best tool, technique, etc.  Patience paid off with good results)

since original grip was splitting,  used
tennis racquet grip wrap on rivet gun. Sweet !