I've started my adventure to build a Van's Aircraft RV14a. For several years, I've been planning to build an Experimental (homebuilt) airplane - once retired.
But first, I needed to get my Pilot's License. (Kinda key !) So... first things first: I retired March 2014 from Caterpillar - and started flying lessons in the Summer of 2014. Soloed a day after Christmas, and got my Private July 2015. Shop set up, tools acquisition, and practise kits during Fall launched me into my build starting Dec 31, 2015 !

I've chosen to build the RV14a since it's about 10% larger than Van's prior models - so it fits my 6'4" frame well. Van's is well known for great value & outstanding flying qualities. It's been a no brainer decision for me. A tour of their facilities and demo flight in Oct 2013 clinched the deal. My wife - also a pilot - exclaimed after her demo flight "retire NOW so you can build one of these". The RV14a fits my mission of a good compromise between cross country & aerobatics. Plus...I fit, too.

So far, one month into building, it's been rewarding. Very challenging, but certainly a learning experience. The builder community is terrific - as is Van's tech support. I'm finished with the Vert Stab and Rudder (Jan 2016). So... with a 5 month delivery lead time, I've ordered the Quick Build Wings and Fuselage.

I hope this blog assists other new builders, just like several others have been valuable to me. Plus it will serve to document my build step by step. Please drop me a line via the "contact me" form on lower RH margin.
Update: April 2020 relocated to Wickenburg, Az to escape Illinois winters.

Saturday, August 11, 2018

Finish Kit

Intersection Fairings ( 3 hrs )

Completed grinding & sanding excess resin inside leading edges of all 4 Fairings, and high spots under contact edges.  Aligned Upper and Lower Intersection Fairings with Leg Fairings installed per Sect 46A-22.  Marked locations on Intersection Fairings on Leg Fairings.  Per Step 5, 46A-22: wrapped specific # layers of masking tape to act as spacers between Intersection and Leg Fairings.
1st time Leg Fairing installed.
It self aligns, fits well.
Pleased w/ fit of Lower Intersection Fairing to Wheel Fairing.
Lots of sanding/filing/grinding to achieve...!


Pleased with fit of Upper Fairing to Fuselage.

another pic of good fit onto Wheel Fairing
Upper, Leg, Lower, & Wheel Fairings


wrapped layers of  masking tape at 4 locations

Friday, August 10, 2018

Finish Kit

Intersection Fairings for Main Gear Legs ( 4 hrs )

Per Sect 46A-21,  aligned Upper Intersection Fairings to bottom of Fuselage, then Lower Intersection Fairings to Main Wheel Fairings.   Lots of grinding & sanding to get uniform contact.  Trimmed mating flanges and Gear Leg openings after drilling/cleco'ing Intersection Fairings into best fit.  The diamond encrusted thin wheels on my dremel make this "easy". 
Upper Fairings trimmed

Lots of fiberglass dust....everywhere !

Lower Fairings trimmed, sanded smooth.

Tuesday, August 7, 2018

Finish Kit

Main Gear Leg Fairings ( 4 hrs )

Completed Leg Fairings for Main Gear per Sect 46A-20 - including trimming flanges, deburring, priming and machine c'sinking...then riveting.  Cut hinge pins to final length with 90 deg bend to enable retention by safety wire at final assembly.
flanges cut off

riveted via "Main Squeeze"

Monday, August 6, 2018

Finish Kit

Main Gear Leg Fairing ( 3 hrs )

Completed positioning hinge in Fairing, cleco'd and drilled #40 holes.  Both left and right sides done, ready to machine C'sink so I can rivet.

Saturday, August 4, 2018

Finish Kit

Gear Leg Fairings ( 4 hrs )

Machine C'sunk for 2 lower screws retaining Nose Gear Leg Fairing.  Achieved 1/8" clearance to Wheel Fairing after several iterations to mark-trim-remount ...& repeat.  (aaargghhhh...just cautious to not trim to much).   Per 46A-18, lifted wheel off ground via engine so "steered" nose wheel full left and right.  So.... needed more clearance in 2 locations per side...so repeated...again.   Finally!  Started Main Wheel Leg Fairings Steps 1-5 at 46A-19.  Essentially same process as Nose Gear Leg Fairing.  Trimmed inner and outer ends after drill & cleco T.E.  Cut hinges to 25".
upper retention via bolt

checking 1/8" clearance...some more trimming needed

close up...not quite done trimming for clearance

steering hard right...more clearance needed.

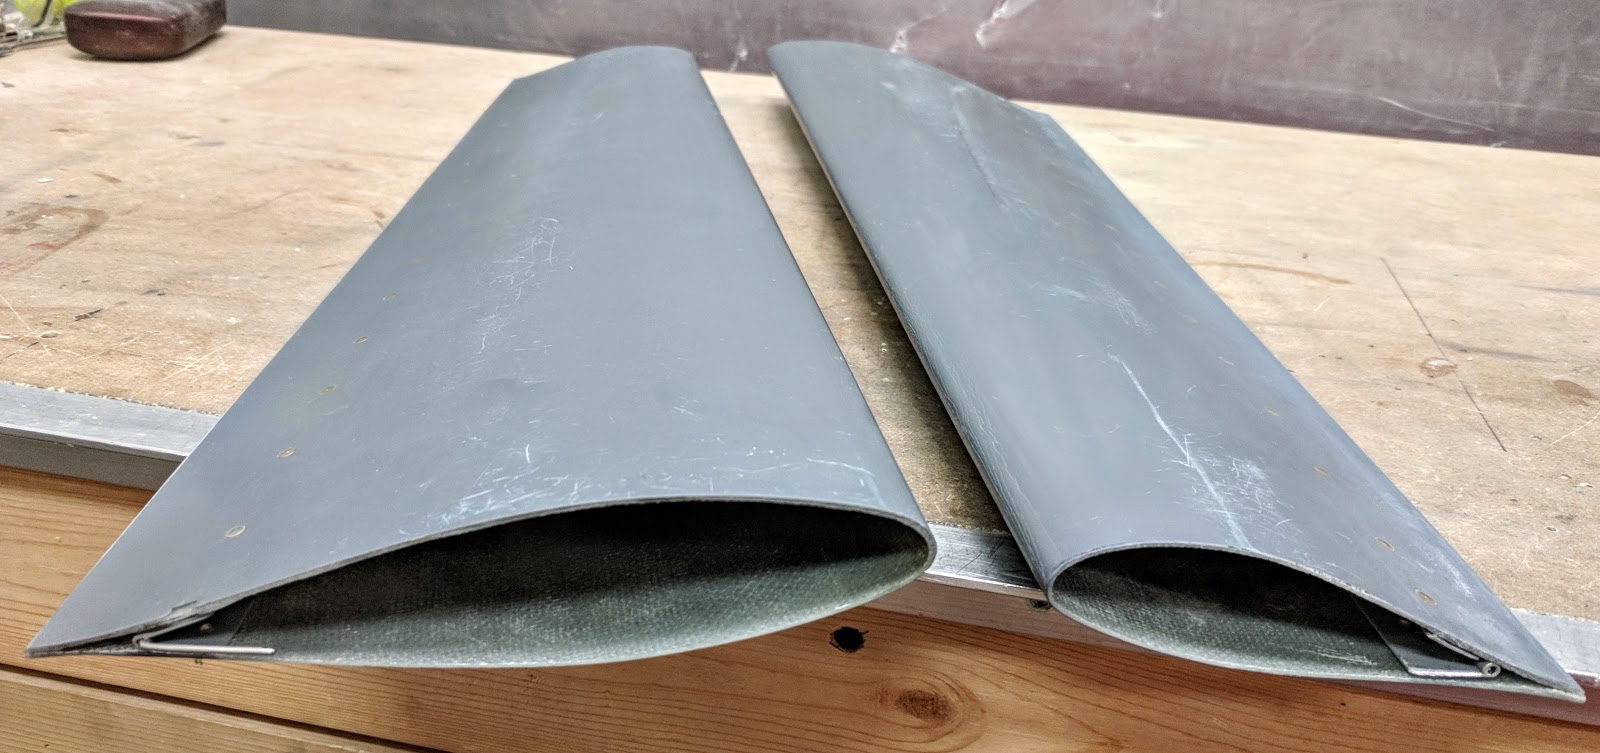
trimming ends of main wheel leg fairings

about size of my R/C airplane wings !

Friday, August 3, 2018

Finish Kit

Nose Wheel Gear Leg Fairing ( 4 hrs )

After priming, riveted hinge halves to Leg Fairing.  Cut hinge pin to length included 90 deg bend on top end.  Drilled hole for safety wire to retain pin.  Re-mounted Fairing and confirmed alignment.  Drilled top #12 holes for AN3-23 bolt, and #19 holes for lower screw locations.  The lower ones were challenging since my Fairing is NOT translucent.  Due to steel Leg, the spherical magnets do no provide accurate hole indication (entire bracket is magnetized, so hole position is not obvious).  Resorted to sanding off primer/filler (Vans original parts did not included pre-filled/primed fiberglass) and using bright back-lighting to reveal hole location. Worked ok.  Added 2 nutplates at lower mount.   Only final trim 1/8" clearance to Wheel Fairing to complete.  Ref Sect 46A-18.

Thursday, August 2, 2018

Finish Kit

Nose Gear Leg Fairing ( 3 hrs )

Aligned & clamped hinge along aft edge, then drilled #40 holes for rivets per 46A-16 & -17.  Had to deviate from Vans instructions since Leg Fairing is primed, so NOT translucent.  Simply transferred centerline from hinge to surface of Fairing on each end.  Machine C'sunk hole for flush rivets along that line.  Trimmed fiberglass flanges.  Very pleased with how well T.E. turned out.   Ready to deburr and prime hinge, then rivet.
holes machine c'sunk.  

flanges removed, revealing trailing edge


flanges trimmed off