I've started my adventure to build a Van's Aircraft RV14a. For several years, I've been planning to build an Experimental (homebuilt) airplane - once retired.
But first, I needed to get my Pilot's License. (Kinda key !) So... first things first: I retired March 2014 from Caterpillar - and started flying lessons in the Summer of 2014. Soloed a day after Christmas, and got my Private July 2015. Shop set up, tools acquisition, and practise kits during Fall launched me into my build starting Dec 31, 2015 !

I've chosen to build the RV14a since it's about 10% larger than Van's prior models - so it fits my 6'4" frame well. Van's is well known for great value & outstanding flying qualities. It's been a no brainer decision for me. A tour of their facilities and demo flight in Oct 2013 clinched the deal. My wife - also a pilot - exclaimed after her demo flight "retire NOW so you can build one of these". The RV14a fits my mission of a good compromise between cross country & aerobatics. Plus...I fit, too.

So far, one month into building, it's been rewarding. Very challenging, but certainly a learning experience. The builder community is terrific - as is Van's tech support. I'm finished with the Vert Stab and Rudder (Jan 2016). So... with a 5 month delivery lead time, I've ordered the Quick Build Wings and Fuselage.

I hope this blog assists other new builders, just like several others have been valuable to me. Plus it will serve to document my build step by step. Please drop me a line via the "contact me" form on lower RH margin.
Update: April 2020 relocated to Wickenburg, Az to escape Illinois winters.

Tuesday, April 9, 2019

Finish Kit

Crow Safety Harnesses ( 2 hrs )

Installed Crow 5 point Safety Harnesses ( Part # R40004P ) purchased earlier via Abby at Flightline Interiors.  I received 6 replacement "Tangs" with 5/16" holes at mounting points after contacting Fred Crow - to match Vans instructions and dwgs using their provided bushings.   Probably could have used the original w/ 1/4" holes, but prefer matching Vans plans per Sect 42-06.  They were easy to replace.  Waiting to install Crotch Straps (which actually did have 5/16" holes to match AN5 bolts) until I'm ready to install Seat Ramp Covers - per Sect 42-02, Fig 1 & 2.   Starting to install Exhaust system.   Per 48-04, drilled out LP-4 rivets on right side to install Right Vent Assembly (ie cover) per Fig 1.   Engine mount tubes makes this difficult (Vans should insruct this step PRIOR to adding engine mount, etc !).   Used 90 deg angle drill for one, but other needed 11" extension also.  Gonna be real tight to blind rivet soon...but seems do-able.
Crow harnesses mostly installed.
Poor access required 90deg AND 11" extension
 to drill out rivet.  Seems Vans should have
 you do this well prior to adding engine mount
and engine! (vs during exhaust install)

Thursday, April 4, 2019

Finish Kit

Brake Fluid added ( 1 hr )

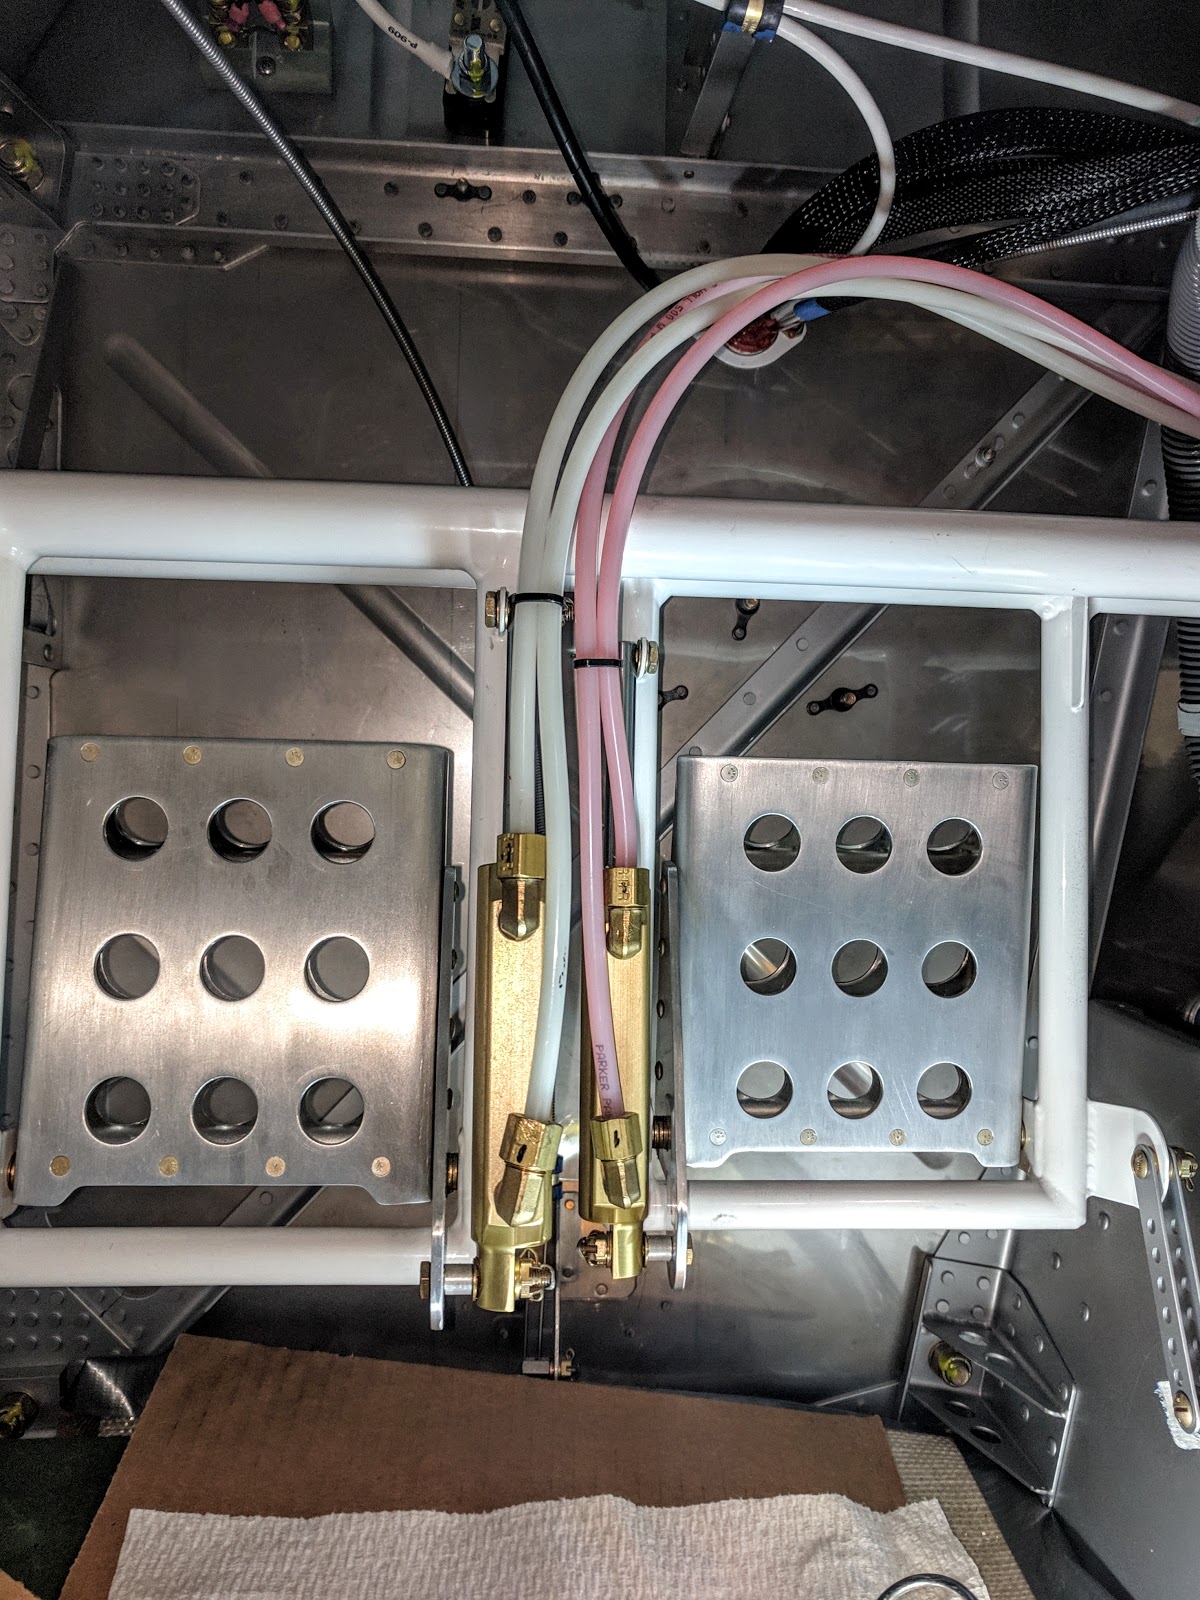
Finally added 782 (synthetic) brake fluid.  Followed excellent article by Jon Croke (of Homebuilt Help) in Nov 2018 Kitplanes mag "Bleed like a Pro".  ( also referenced several posting to VAF demonstrating same technique).  Used his recommended simple, low cost high pressure oiling can (under $10).  Attached nylon tubing to nipple on brake caliper, loosened 1/2 turn and pumped.  Takes a lot of pumps.  Interesting to check progress in translucent brake lines as fluid pushes air out making circuit all the way to reservoir on firewall.  Used a "dipstick" to insure not overflowing.  RH first, then LH brake....then "VOILA"...done.   Brakes seem firm, and NO leaks.  Yay! 
Clear oil can makes easier to monitor amount injected vs remaining. 
Each side used approx 1/2 of this "9" oz bottle

Left side (pilot side), RH brake 
Right side, RH brake...the fluid is up to 'T' at
firewall at reservoir on other side of firewall


Left side (pilot side), LH brake
Right side, LH brake...and "LH" fluid is also up to
 'T' at 
firewall at reservoir on other side of firewall
(this pic shows brake lines from center
 tunnel coming from the fuselage bottom) 


Wednesday, April 3, 2019

Firewall Forward Kit

Battery Charge Cord secured, new iPad ( 1 hr )

Routed and secured the battery charging harness/plug so accessible via the Oil Door.   Tried out new iPad Pro 11" for  first time in new mount.   Works great !  Added red stripes to Emergency T handle for canopy release.   Received from Aircraft Spruce the Bogart  Bogie Arm (one for RV-10 since same nosewheel, wheel pant)
Green  cap over plug for battery charging cable
 (came with Optimizer charger for LiFEPO4
batteries).  Accessible insider Oil Door.

new iPad in portrait mode...Garmin Pilot app, split screen. 
Note also the red stripes now on emergency canopy release handle.

iPad in horizontal mode... Garmin Pilot app, split screen.

Bogie Bar...same as sold for Vans RV-10


Tuesday, April 2, 2019

Firewall Forward Kit

Reiff Heater harness secured ( 2 hrs )

Secured Reiff Heater plug adjacent to Oil Dipstick for access via Oil Door.  Routed up from bottom of engine along engine mount tubing.  Added more hi-temp RTV to ends of connectors on Reiff harness to provide strain relief.   Received the iPad Pro 11" (to mount on RH side dash)  -- so lots of distraction today activating and "playing".  Loaded Garmin Pilot app for free 30 day trial to compare to Foreflight - seems excellent so far, and will be more compatible with Garmin G3X, etc (although Foreflight should work fine, too)
Reiff Heater plug secured at Oil Door opening
Secured to Engine mount tubes down to bottom
of engine.  I wrapped tubes w/ silicone
tape to avoid nylon ties wearing into tubes.

Sunday, March 31, 2019

Avionics

iPad Mount installed ( 1 hr )

Received iPad mount for Instrument Panel.  Ordered from Sporty's this new "Robust Universal iPad Suction Cup Mount" ( a good value at $40 ) and Ram circle base.  Replaced suction cup with Ram base permanently mounted with four 6-32 screws and locknuts.   The 3.75" arm allows lots of positions.   Pending delivery of  11" iPad Pro...
Vertical orientation


Horizontal orientation.


Partially blocks "glove box", but easily moved for access.


Saturday, March 30, 2019

Firewall Forward Kit

Secure Reiff Heater harness ( 2 hrs )

Worked to secure connectors & harness for Reiff Heaters.  Used waxed cord (from harness assembly) to wrap each male to female connector (already snap fit).  Then lots of hi-temp RTV to secure harness to air box/oil sump on bottom of engine - per Reiff recommendation in instructions.  Added RTV to wire connections to sensor and each heater pad for strain relief.   Also cut 1.5" from 16" long SCAT hose to fit from baffle to oil cooler now w/ TCW air valve installed.  No pic, ref April 26, 2018 build log.
RH side with heater pad and sensor

LH side with heater pad.

Friday, March 29, 2019

Firewall Forward Kit

Optimate Battery Charger ( 2 hrs )

Received the "Optimate lithium LFP 4S 5A"  battery charger for the EarthX LiFePO4 main battery, Part No. TM291.  Recommended by EarthX specifically for LiFePO4 batteries.  Automatic test, charge, optimize (cell balancing), test and Maintain modes ( 10 steps).   Decided "making do" with Battery Tender Jr was not ideal.  Also finished RH firewall penetration with layers of firesleeve filled with hi-temp RTV per Sect 51-07.
10 steps shown along bottom
includes direct connection to battery terminals w/  plug. 
Performs all steps without interaction.  


bottom view of stuffed firesleeve
top view.   (messy to stuff  with RTV)