I've started my adventure to build a Van's Aircraft RV14a. For several years, I've been planning to build an Experimental (homebuilt) airplane - once retired.
But first, I needed to get my Pilot's License. (Kinda key !) So... first things first: I retired March 2014 from Caterpillar - and started flying lessons in the Summer of 2014. Soloed a day after Christmas, and got my Private July 2015. Shop set up, tools acquisition, and practise kits during Fall launched me into my build starting Dec 31, 2015 !

I've chosen to build the RV14a since it's about 10% larger than Van's prior models - so it fits my 6'4" frame well. Van's is well known for great value & outstanding flying qualities. It's been a no brainer decision for me. A tour of their facilities and demo flight in Oct 2013 clinched the deal. My wife - also a pilot - exclaimed after her demo flight "retire NOW so you can build one of these". The RV14a fits my mission of a good compromise between cross country & aerobatics. Plus...I fit, too.

So far, one month into building, it's been rewarding. Very challenging, but certainly a learning experience. The builder community is terrific - as is Van's tech support. I'm finished with the Vert Stab and Rudder (Jan 2016). So... with a 5 month delivery lead time, I've ordered the Quick Build Wings and Fuselage.

I hope this blog assists other new builders, just like several others have been valuable to me. Plus it will serve to document my build step by step. Please drop me a line via the "contact me" form on lower RH margin.
Update: April 2020 relocated to Wickenburg, Az to escape Illinois winters.

Tuesday, December 4, 2018

Avionics

MAP sensor wired ( 2 hrs )

Connected MAP (manifold air pressure) sensor to wiring.  Looped extra wire for strain relief and "do-over" option.  Used several layers of heat shrink tubing to strengthen joint area, too.
after solder, 1st layer heat shrink. 
Two more layers ready, nested below

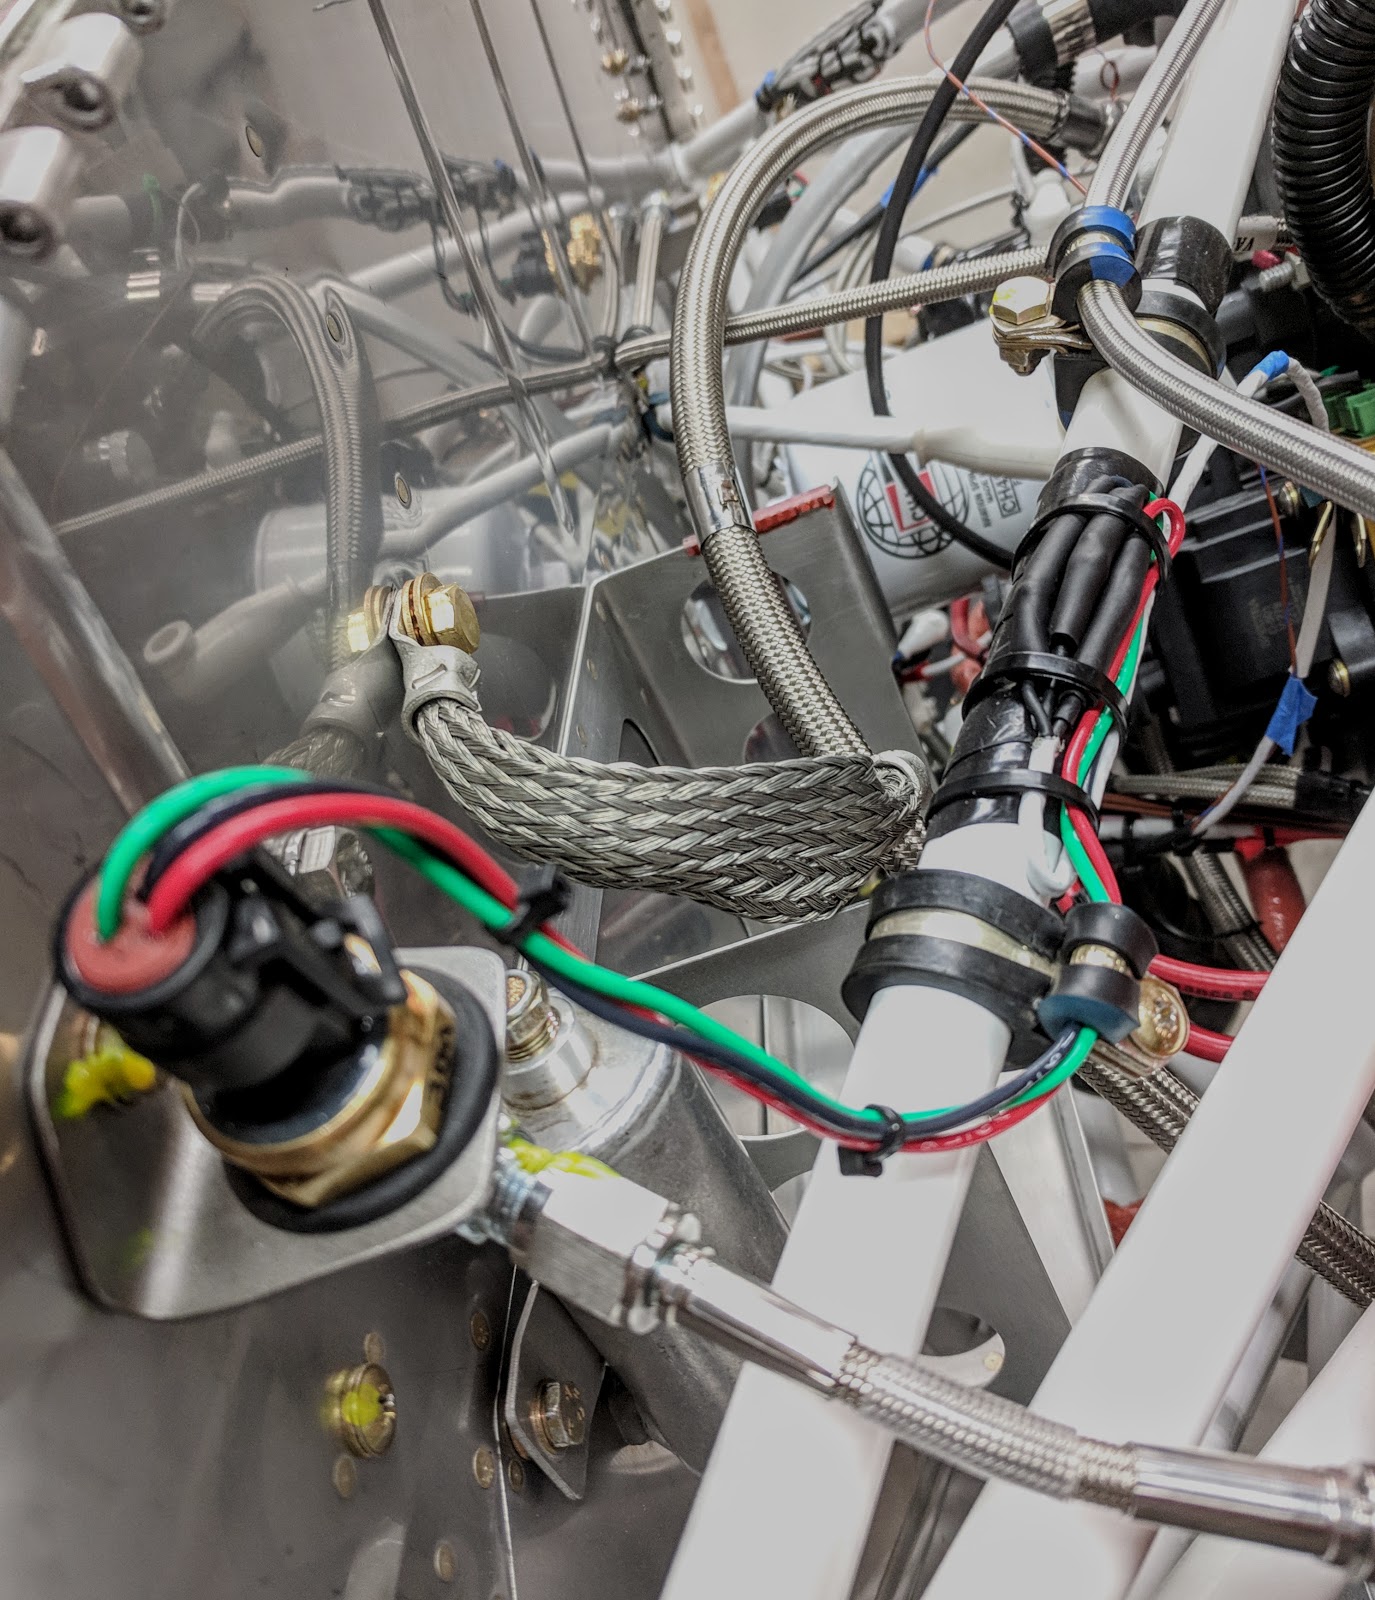
wrapped engine mount tube with silicone tape,
then secured wiring loops with cable ties
Added cushion clamp (to right in pic).