I've started my adventure to build a Van's Aircraft RV14a. For several years, I've been planning to build an Experimental (homebuilt) airplane - once retired.
But first, I needed to get my Pilot's License. (Kinda key !) So... first things first: I retired March 2014 from Caterpillar - and started flying lessons in the Summer of 2014. Soloed a day after Christmas, and got my Private July 2015. Shop set up, tools acquisition, and practise kits during Fall launched me into my build starting Dec 31, 2015 !

I've chosen to build the RV14a since it's about 10% larger than Van's prior models - so it fits my 6'4" frame well. Van's is well known for great value & outstanding flying qualities. It's been a no brainer decision for me. A tour of their facilities and demo flight in Oct 2013 clinched the deal. My wife - also a pilot - exclaimed after her demo flight "retire NOW so you can build one of these". The RV14a fits my mission of a good compromise between cross country & aerobatics. Plus...I fit, too.

So far, one month into building, it's been rewarding. Very challenging, but certainly a learning experience. The builder community is terrific - as is Van's tech support. I'm finished with the Vert Stab and Rudder (Jan 2016). So... with a 5 month delivery lead time, I've ordered the Quick Build Wings and Fuselage.

I hope this blog assists other new builders, just like several others have been valuable to me. Plus it will serve to document my build step by step. Please drop me a line via the "contact me" form on lower RH margin.
Update: April 2020 relocated to Wickenburg, Az to escape Illinois winters.

Tuesday, January 15, 2019

Firewall Forward Kit - Propeller

Propeller mounted ( 4 hrs )

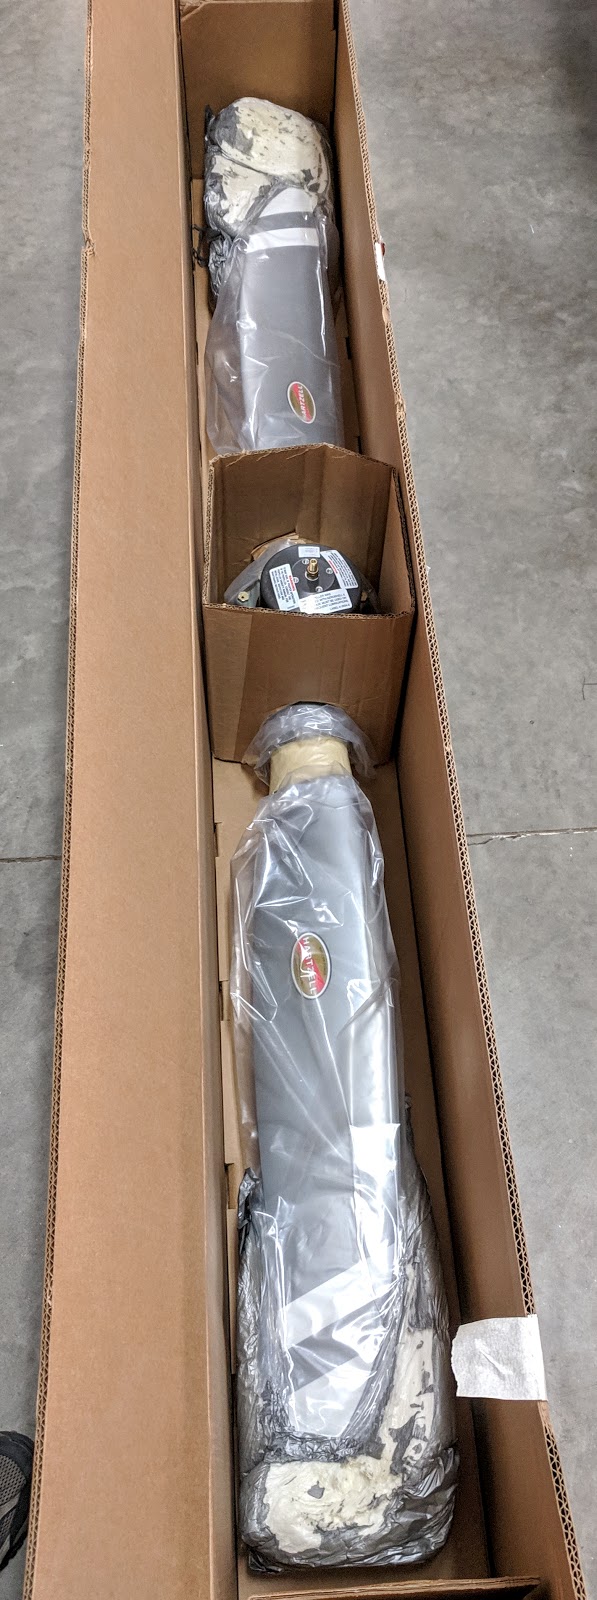
Safety wired alternator attach bolt per Sect 51-06 (waiting until after Prop installed to tighten Alt belt - so I have a lever to resist turning engine while using the torque/belt slippage process).    Re-opened Propeller box (rec'd late 2017 since ordered same time as Engine to get discount Vans offered) and moved to floor with wife's help.  Mounted Spinner Plate to constant speed hub - torqued to 21 ft-lbs per Table 3-1 in Hartzell Owner's Manual.  VAF has good recommendations from builders on how to remove plug in crankshaft (oil passage to CS prop)  - and it came out easily with slide hammer.  Used engine hoist w/ straps to lift/position Prop to install per Sect 44-02.  Tightened 6 places, but didn't torque/safety wire ...yet.   Reference data on Prop:  Model No. HC-C2YR-1BFP/F7497     Assembly Serial No. NS3530B    Blade 1 L82636,  Blade 2 L82641   ( Low pitch 13.6  High pitch 35.0)
Alternator  safety wired...
Belt tension not yet set for other bolt
"Thar she be..."


Serial No. NS3530B.   (Plate says A-2424 Rev 0 )
Prepping to mount Spinner Plate

Hartzell PC10 TC P920   HC-C2YR-1BFP
        Sticker confirms documentation:
Blade 1 Serial # L82636, &  Blade 2 Serial # L82641


B-2428-1  Rev AS   SN171765.

Confirmed O-Ring in place as mounting Spinner Plate

Torqued Hub Clamp Bolts to 21 Ft-lbs per Hartzell manual

Followed VAF recommendations to remove
plug  in front of crankshaft.   Came out easily...
with couple ounces oil spilling out.

Nancy helped secure Propeller. 
It's a lot easier with two people!

Yay!   It fit....

Tah Dah !   
Looks big since close to camera...