I've started my adventure to build a Van's Aircraft RV14a. For several years, I've been planning to build an Experimental (homebuilt) airplane - once retired.
But first, I needed to get my Pilot's License. (Kinda key !) So... first things first: I retired March 2014 from Caterpillar - and started flying lessons in the Summer of 2014. Soloed a day after Christmas, and got my Private July 2015. Shop set up, tools acquisition, and practise kits during Fall launched me into my build starting Dec 31, 2015 !

I've chosen to build the RV14a since it's about 10% larger than Van's prior models - so it fits my 6'4" frame well. Van's is well known for great value & outstanding flying qualities. It's been a no brainer decision for me. A tour of their facilities and demo flight in Oct 2013 clinched the deal. My wife - also a pilot - exclaimed after her demo flight "retire NOW so you can build one of these". The RV14a fits my mission of a good compromise between cross country & aerobatics. Plus...I fit, too.

So far, one month into building, it's been rewarding. Very challenging, but certainly a learning experience. The builder community is terrific - as is Van's tech support. I'm finished with the Vert Stab and Rudder (Jan 2016). So... with a 5 month delivery lead time, I've ordered the Quick Build Wings and Fuselage.

I hope this blog assists other new builders, just like several others have been valuable to me. Plus it will serve to document my build step by step. Please drop me a line via the "contact me" form on lower RH margin.
Update: April 2020 relocated to Wickenburg, Az to escape Illinois winters.

Tuesday, January 31, 2017

Wings

LH Wing Bottom Skin  ( 3 hrs )

Reference Sect 20-04 & -05.    Finished last 11 rivets for LH Bottom Skin when Nancy available to assist again.  She's now an accomplished riveter !  For RH Bottom Skin, I deburred all holes, and dimpled 16 of the #19 holes for nutplates at the Access openings, then dimpled all the #40 holes.   Cleco'd to RH Wing...ready to start riveting.

LH Wing Bottom Skin done.  Yay !
Installed cover to Stall Warning access
RH Wing cleco'd ...ready to start riveting.

Monday, January 30, 2017

Wings

LH Wings ( 3 hrs )

Machine C'sunk 16 locations on QB Wings along inboard top edge (triple layer wing walk area) that builders for Vans forgot to do - after confirmation from Vans.   I had installed nutplates in these locations previously.  I used #30 countersink since smaller diameter pilot fits inside threaded portion of nutplates.  Worked great.
Overlapped area of outboard skin over inboard skin
with smooth transition to forward section.


Nearly completed LH Bottom Skins - waiting for Nancy to assist in order to finish last row along one rib that is hard to do by myself.

Sunday, January 29, 2017

Wings

LH Wings -Pitot Mast mounted ( 2 hrs )

With Nancy's help, riveted more LH Bottom Skin.   Especially pleased with getting Pitot tube Mast Mount installed.  Tubes for Pitot and AOA are ready too, once I buy Garmin's GAP 26 Pitot.   Seems relatively solid.

Saturday, January 28, 2017

Wings

LH Wing  ( 2 hrs )

Continued LH Bottom Skin rivets, especially along J-stiffener.  Most getting easier to reach, so able to do without my able assistant, Nancy.  Completed down one Rib, so no longer lifting skin from Spar.   All reach from end or Access openings.   Reference Sect 20-04 & -05.
Cleaned tape residue & markings off with acetone

Friday, January 27, 2017

Wings

LH Wing ( 2 hrs )

Nancy assisted again riveting LH Bottom Skin.  Time per rivet is getting better with practice, and because reach is about 1/2 as far inside.   We're far enough "down" that I inserted the J-stiffener.  Bad news if forgot now !    I also machine countersunk Rear Spar on RH Wing.   Bottom skin needs holes deburred and dimpled, then ready to rivet too.

Thursday, January 26, 2017

Wings

LH Wing / RH Wing  ( 4 hrs )

Finished drilling #40 holes in RH Bottom Skin and J-stiffener.  Removed so I could deburr and dimple all.  Pending machine countersink Rear Spar.  Nancy assisted for 1 hr so we got about 50 more rivets into RH Wing bottom skin.
reached inside with phone camera to check rivets on flanges.


Wednesday, January 25, 2017

Wings

RH Wing Bottom Skin  ( 4 hrs )

Since my wife Nancy (aka Rosie the Riveter) wasn't available, I started the RH Wing Bottom Skin.  Deburred,  then rolled edges.  Cleco'd to Wing, being careful to align Ribs (some needed persuasion to line up holes ).  Drilled about 50% of the #40 (3/32")  holes including match drilling into the J-stiffener.
I prefer to remove entire plastic protective sheets.
Later, Nancy joined me to help rivet the LH Wing Bottom Skin...along the Rear Spar.  I reach "way up" holding the bucking bar inside the Wing while pulling the skin open at forward edge. Challenging to align properly on rivet's shop end and hold position while Nancy lines up and pulls the trigger.   About 3-4 seconds, and we're done.  Takes teamwork and good communication.  We're improving...we did about 20 rivets in 45 minutes (spending most of the time confirming correct set on each rivet).  Pretty slow generally, but far better than our 1st four in 30 minutes!  Ran out of time - we quit for dinner.

Tuesday, January 24, 2017

Wings

Wing Access Plates ( 1 hr )

Since Nancy not available to assist riveting bottom skin,  I drilled, deburred, dimpled the 4 remaining Wing Access Plates.  Sect 20-05, Step 1.   Prime later with other parts, warmer weather.

Monday, January 23, 2017

Wings

LH Bottom Skin  ( 3 hrs )

Finished dimpling LH Bottom Skin.  Primed just the rivet lines, since alclad was not "disturbed". Also primed the Pitot Mast Mount and brackets, and J-stiffener.
pic taken prior to priming along rivet lines
I installed the second 20' of 1/4" OD poly tubing for the AOA.  I ran a string along that line to assist later with installation of heater wires to the Pitot.   Per Mitch Lock (Van's East Coast rep), keeping those wires several inches away from the magnetometer and it's wires is important.


Finally ready to rivet the bottom skin.  Nancy assisted as we experimented with who should buck and who should hold the rivet gun ( I originally thought she'd only need to roll back the skin and hold it for me - but that option didn't work.  Clearly one of us needs to reach way inside to the rear spar, while other positions rivet gun.  We managed to get just 4 rivets done before we had to quit.   At least we got started!

checking how far we can roll back the skin w/o kinking...

Saturday, January 21, 2017

Wings

Dimpling LH Wing Skin  ( 1 hr )

Sort session - started to dimple LH Bottom Skin doing first the #19 holes at Access openings and Pitot Mast Mount. Switched to #40 holes.   Got distracted to go ahead and rivet on 16 nutplates at both Access openings.

Friday, January 20, 2017

Wings


Install Pitot Mast Mount  ( 5 hrs )

Located the Pitot Tube Mounting Bracket in LH Wing.   I determined best location was 1 bay outboard of Access Bay just past Bellcrank bay.  This was clear of tie down location, and would be much easier for final assembly and maintenance later, since beyond Pushrod.  Fabricated a 4"x3" gusset from spare .032" aluminum sheet.  Supports rear of Mounting Bracket against Rib.  Satisfying to create from scratch.  Ready to proceed to install Bottom Skins.


Transfer cutout to skin, along with 4 holes for attachment screws

trial routing of Pitot and AOA air lines. 
Attached gusset w/ 2 blind rivets ( after priming)

Thursday, January 19, 2017

Wings

Tech Counselor visit  (3 hrs )

Received thumbs up - well done - from Sam Sisk, EAA Tech Counselor after examining Wings today.   Ready to close up Wings with addition of Bottom Skins.   Dimpled J-stiffener, Rib flanges.   Countersunk rear spar flange, too.  Two holes adjacent to Flap hinge bracket were simply done by taping in the countersink cutter into hex driver, since aluminum cuts easily.  A few turns by hand and presto...done.


simple rig to reach tight clearance for countersink.

Today the Gretz Pitot Tube Mounting Bracket & hardware arrived from Aircraft Spruce & Specialty Co.  This design fits RV's with a jog at interface to spar flange.  Discovered many RV builders have used this one via Vans Airforce Forums.    I'll fabricate a simple brace/gusset at rear for support.   (Van's hasn't completed their version for the RV14a listed as an option in their Avionics letter.  Probably next year... )

Wednesday, January 18, 2017

Wings

LH Bottom Wing Skin ( 3 hrs )

Drilled and deburred holes in LH Bottom outboard Wing Skin and J-stiffener.   Ready to dimple. With skin off, confirmed no new holes in rib flanges ! (proof I'd aligned ribs correctly with existing holes)   Worked evening session so I could take skin off.   Ready for Sam Sisk, EAA Tech Council to exam work on QB Wings Thurs morning ( his 3rd visit since build started on Empennage in Jan 2016.
Selfie - in reflection of Wing skin
Overlap inboard & outboard J stiffeners


Pic with phone inside Wing...confirming J-Stiffener holes were correctly positioned.

Tuesday, January 17, 2017

Wings

Bottom Wing Skins  ( 3 hrs )

Unwrapped the Outboard Bottom Wing Skins.  Deburred edges on LH skin, and stored RH for now.  Added J-stiffener per Sect 20-03 and -04.   Good progress - mounted w/ clecos to Wing.  Ready to match drill next.


checking as I go to be sure Ribs aligned correctly


Aaaarrrgh !  After re-check,   I'll need to remove LH Tank from Wing to search for a small leak.   Can't find any in accessible areas, but balloon slowly leaks down in few hours.  RH Wing checked  A-OK few days ago.

Monday, January 16, 2017

Wings

Elect Aileron Trim ( 2 hrs )

Leak test LH tank again.   Balloon stays inflated for more than 2 hrs, and I can't find a leak on surfaces I can access with soap bubbles.   Need to flip Wing over to check other side - esp fuel fill cap area (think I did thoroughly first time, but want to repeat).  All this to determine if need to remove tank from spar to access areas I can't reach when installed...such as back wall and outboard rib.

Installed Elect Aileron Trim assembly into Wing.  Mounted 2 Spring Brackets onto Pushrod with blind rivets.  I measured several times to insure correct position.  When installing it's very challenging to stretch Springs far enough to attach to Trim Arm.  Once assembled into Wing, confirmed clearances through full Aileron travel.


Endoscope view showing connector and wire routing
Endoscope view:  Trim arm clearance above Pushrod
Once Wing was moved to horizontal on table (vs vertical in wing cradle) the Aileron moved to neutral position balanced by springs.   Sweet !

Saturday, January 14, 2017

Wings

Elect Aileron Trim (4 hrs )

Installed LH Flap to confirm fit & operation, then returned to safety of "storage" room.  Aligns with Aileron well.


RH tank leak test completed -- no bubbles found and balloon stays inflated at least 24 hrs.  Yay !     Rec'd from Vans the 4 AN3-13A bolts (error to not include in QB kit), so I replaced the temporary  -12A bolts.

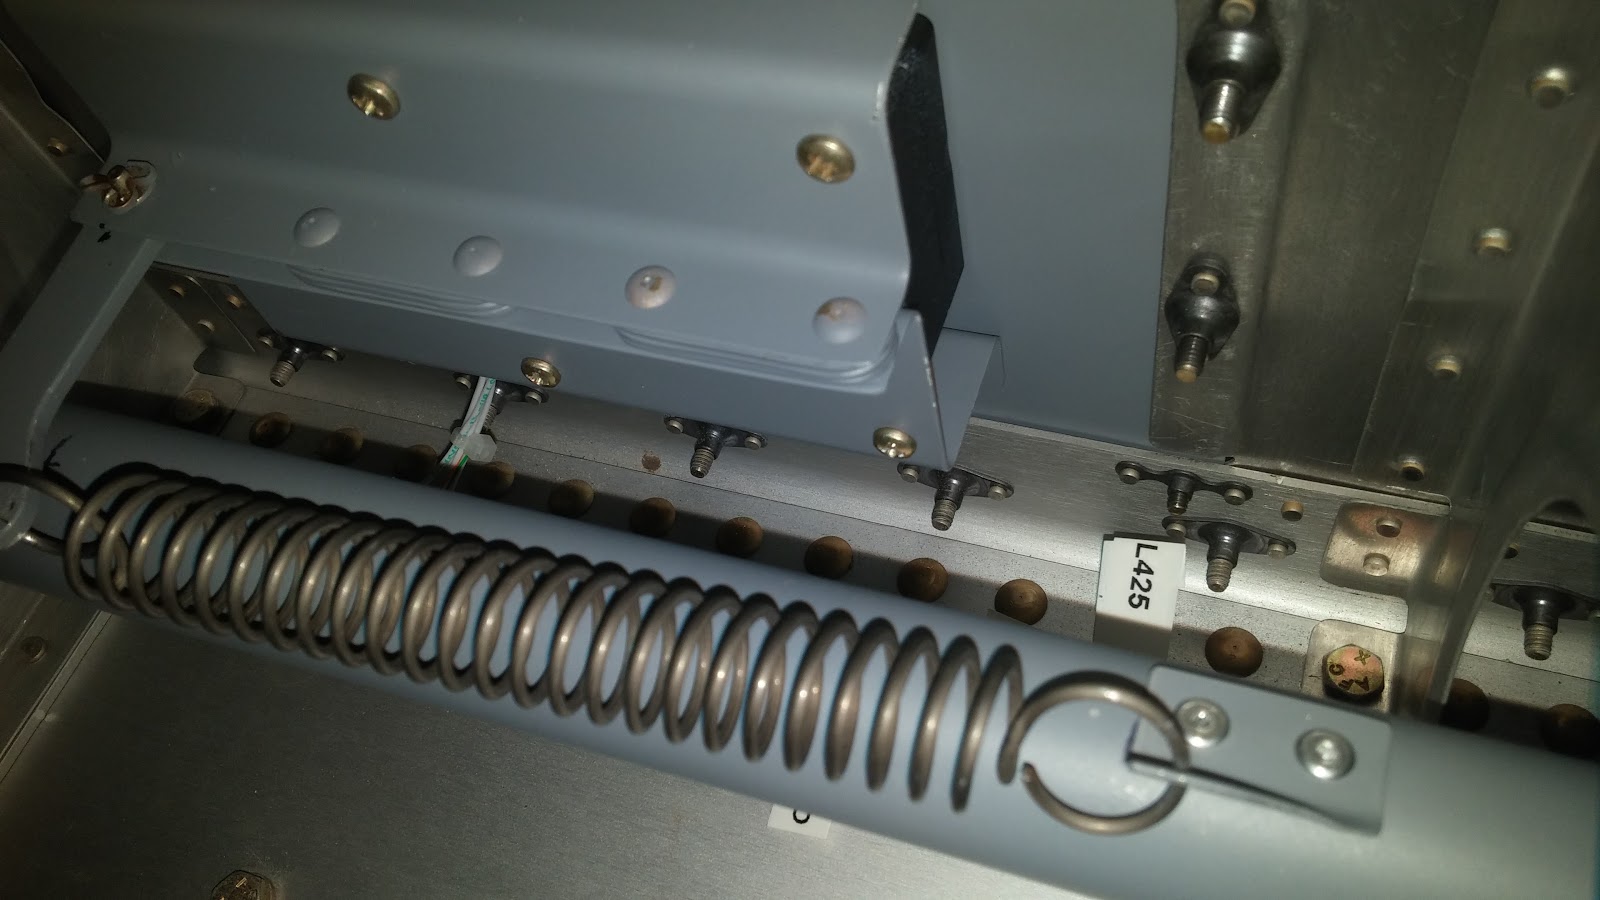
Completed Electric Aileron Trim build, Sect OP 38-04, 05 and 06.  Drilled, deburred, dimpled, primed and attached nutplates. Took several pics inside wing to confirm clearances and setup. Some with endoscope (lower resolution).


Crimped Molex Micro-fit Pins onto 5 wires, then inserted into Molex connector.   Really challenging since tiny pins.   Test fit into mating connector inside access bay.  A little stiff first, then seemed easy to re-insert.  Discovered one of the female pins was driven out of connector.  Needs to be replaced...next work session.   Fortunately I'd ordered spare pins.  [ done 1/16 ]


Friday, January 13, 2017

Wings


Ailerons Adjusted to Neutral, Flap Installed  ( 3 hrs )

Sect 23 -10 completed. Adjusted LH Aileron 1st using W730 jig (template) at Bellcrank and W00026 Alignment Template at end of Aileron.  One turn of rod end on Pushrod CS00013 only needed.   Measured 64.5mm vs 64.3mm spec'd at Torq Tube neutral position. Pending receipt of Van's W730 actual template for final confirmation, but within 0.2mm (.007") is quite accurate -within 1/2 turn of rod ends.   Repeated for RH Wing with 1 turn of Aileron Pushrod, and 1/2 turn to main Pushrod.  Measuring 64.3mm and neutral at Bellcrank and Aileron with templates installed.   Not torquing AN3 bolts/locknuts since will remove Ailerons and Pushrods when I rivet bottom skins. Very satisfying for the smooth and easy movements of the Ailerons.
LH Aileron neutral position
LH Pushrod to Aileron
LH Aileron pushrods & Bellcrank
RH Aileron neutral position
 Mounted Flap to check clearances and position.   Good to GO !