I've started my adventure to build a Van's Aircraft RV14a. For several years, I've been planning to build an Experimental (homebuilt) airplane - once retired.
But first, I needed to get my Pilot's License. (Kinda key !) So... first things first: I retired March 2014 from Caterpillar - and started flying lessons in the Summer of 2014. Soloed a day after Christmas, and got my Private July 2015. Shop set up, tools acquisition, and practise kits during Fall launched me into my build starting Dec 31, 2015 !

I've chosen to build the RV14a since it's about 10% larger than Van's prior models - so it fits my 6'4" frame well. Van's is well known for great value & outstanding flying qualities. It's been a no brainer decision for me. A tour of their facilities and demo flight in Oct 2013 clinched the deal. My wife - also a pilot - exclaimed after her demo flight "retire NOW so you can build one of these". The RV14a fits my mission of a good compromise between cross country & aerobatics. Plus...I fit, too.

So far, one month into building, it's been rewarding. Very challenging, but certainly a learning experience. The builder community is terrific - as is Van's tech support. I'm finished with the Vert Stab and Rudder (Jan 2016). So... with a 5 month delivery lead time, I've ordered the Quick Build Wings and Fuselage.

I hope this blog assists other new builders, just like several others have been valuable to me. Plus it will serve to document my build step by step. Please drop me a line via the "contact me" form on lower RH margin.
Update: April 2020 relocated to Wickenburg, Az to escape Illinois winters.

Saturday, May 12, 2018

Finish Kit

Cowling cont'd  ( 4 hrs )

Per Sect 45-04,  Steps 1-8, formed hinges & pins to conform to curved top of Firewall.  Beveled eyelets in curved areas for clearance.  Fluted hinges to align with Firewall - per Fig 2.  Installed all  4 hinges to Firewall.  Started fiberglass work on Cowls by marking scribe lines with fine point marker.
top hinges installed

after fluting to align with top surface

marking scribe lines...getting ready for 1st cuts
 

just mocked up, not positioned relative to spinner....yet

Friday, May 11, 2018

Finish Kit

Cowling started ( 2 hrs )

Started Sect 45, Cowling (back to Finish Kit) w/ Sect 45-02 Steps 1-4 & 45-03 Steps 1-4 for Cowl Attach Piano Hinges and Pins.  These are along top and sides of Firewall.   Then Sect 45-03 Steps 5 & 6 for Attach Hinges to join top to bottom Cowling.   Lots of time insuring substituting correct diameter (0.120" SS Pins), and measuring several times before cutting.

Wednesday, May 9, 2018

Avionics

Common Fuse Harness cont'd ( 2 hrs )

Climbed into fuselage to connect LH and RH Common Fuse Harnesses to Tailcone Harnesses per Sect 55, Fig 1.   LH was easy, then for RH Harness, followed Sect 56 Garmin Autopilot Servos to insert C1036 and C1037 wires/pins into connector C411P (end of RH Common Fuse Harness).   Then completed with connection to C411J at RH Tailcone Harness WH-00118.  Installed last 4 Snap Bushings and several nylon ties.   Excess harness was doubled and tied so minimal slack.


Tuesday, May 8, 2018

Avionics

LH Joystick harness  ( 3 hrs )

Enlarged notches on 3 locations for routing LH Harness to Pilot's joystick  -- required due to connector that won't pass otherwise.  Managed with great effort to manipulate connector through, then add 3 snap bushings.  Finally, secured ground wire -- itself challenging due to tight access.   Whew !  glad that's done...    Note: continuing to work with Abby at Flightline Interiors to determine materials & colors for seats, joystick boots, armrests, and sidewall covering.   Most recent sketches included...Jones6 and Jones7.  Only difference is Jones6 has vinyl armrest matching seat, other has armrest that matches upper sidewall color and material (Alcantara #2957).
close up of 2 holes/notches now filled with snap bushes  - these
are very difficult to reach and manipulate connector through


Jones6 concept

Jones7 concept

Monday, May 7, 2018

Avionics

LH Joystick harness ( 2 hrs )

Removed panel on LH side, adjacent to center tunnel to enable routing cable/connector out to Pilot's joystick.   Since beautiful sunny 75 deg day with low humidity, decided to finish paint outside ( Rust Oleum Professional color Aluminum 7515 ) remaining interior panels that months ago during winter I was only able to prime.  [ ref: June 16, 2017 log entry ].   Moved back into basement storage with Wings, etc.
LH side opened to enable routing connector and
cable to joystick

After painting, moved back to "storage" in baseement.

Friday, May 4, 2018

Avionics

Common Fuselage Harness & Instrument Panel pics ( 3 hrs )

Cont'd details on LH & RH Common Fuse Harness, per Sect 55.  Installed Power and Music Jacks in center tunnel between seats.  Installed several more snap bushings .  Connected Flap Position Sensor with wires routed to Flap Motor.   Ready now to join connectors at Aft Bulkhead, and do Pilot Joystick harness (which requires cutting open panel adjacent to center tunnel - just as done on RH side).  Also received new pics from Stein Air showing progress on Panel.  Labels have been engraved into painted surface ( Black Onyx ) - looking good !
Power and Music Jacks


rearward behind Flap Support.   Note:  although
appears routed through lower holes w/o bushings,
actually passing via snap bushings hidden by flap
arm. Also has 1/2" clearance. 
pios from Stein Air.  Panel is now engraved

close up toggle switch labels


close up T/P/M holes and labels in revised location - integral
to bottom of Panel, vs below in add on bracket.  Provides needed
 knee clearance for my 6'4" frame

Thursday, May 3, 2018

Avionics

LH Common Fuselage Harness ( 3 hrs )

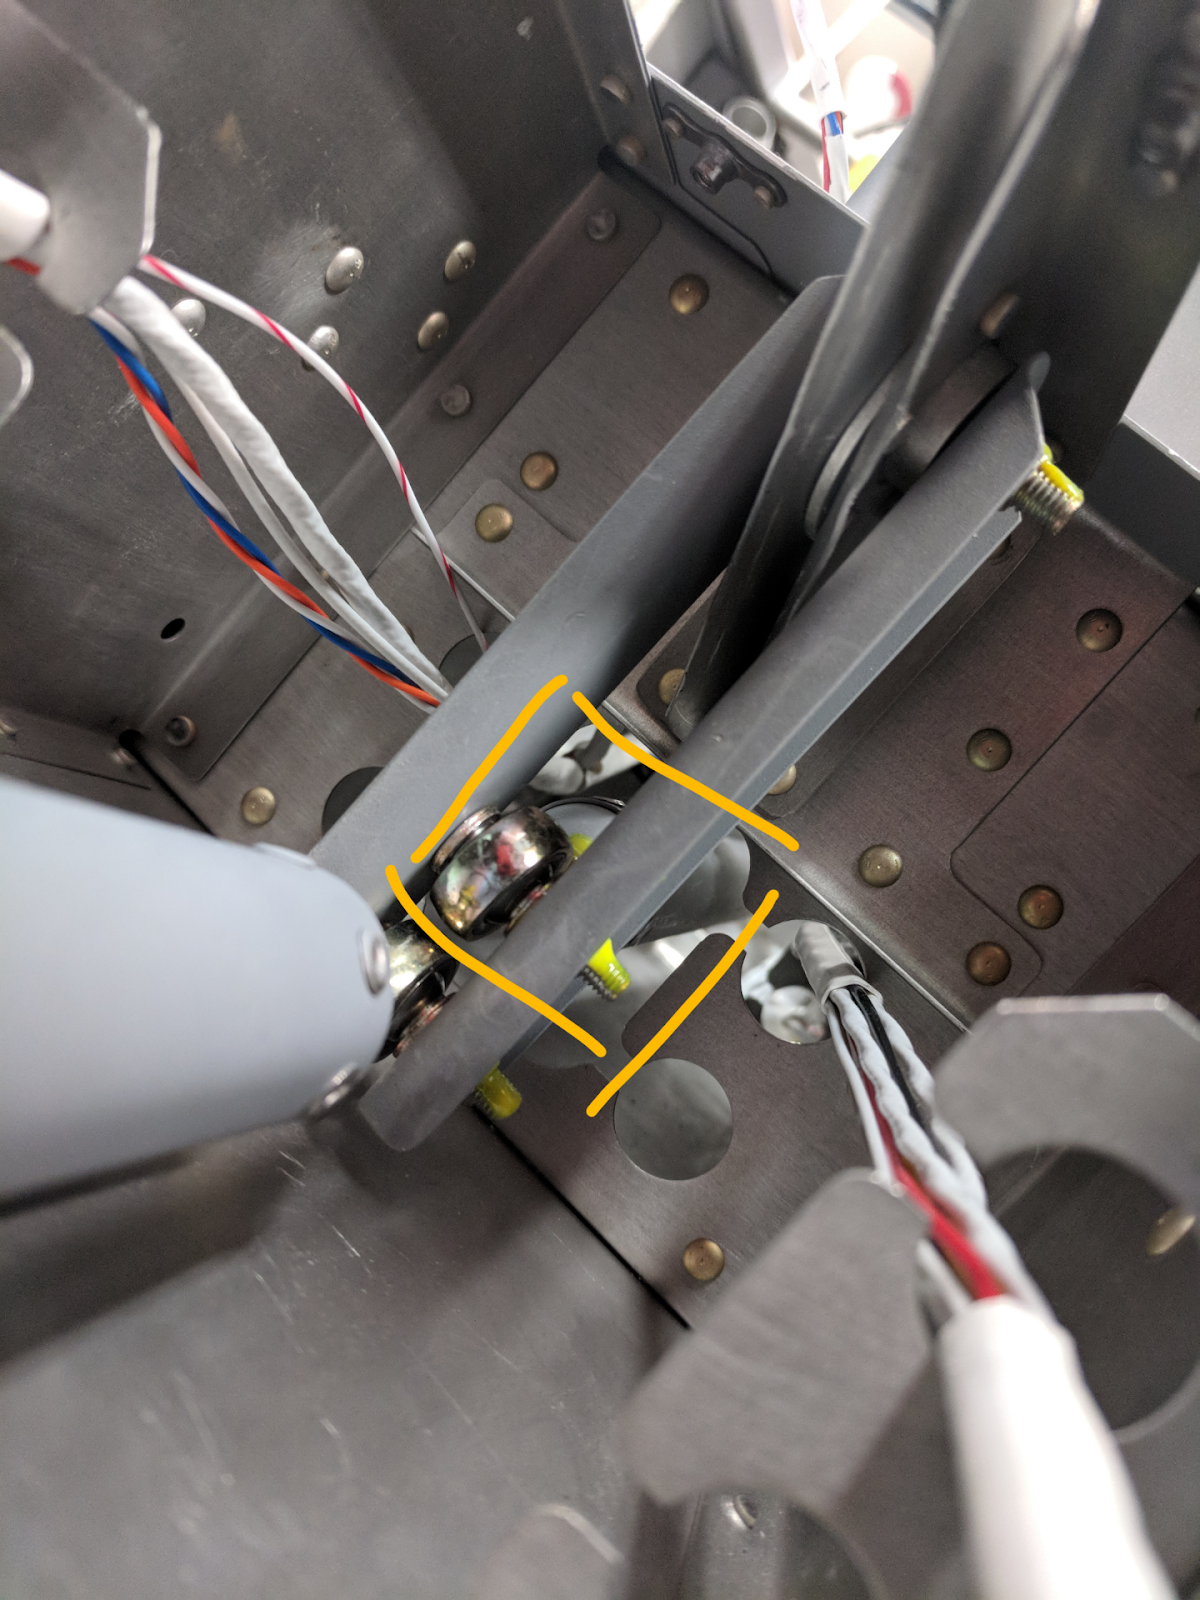
Started installation of LH Common Fuselage Harness - completed LH Wiring w/ snaps, LH or pilot's headphone jacks, and most Snap Bushings in center area.   Still need to open LH panel adjacent to center tunnel, so I can route wiring to Pilot's joystick.   I removed FWD elev. pushrod connection at bellcrank near Flap support so I could pass connectors for RH and LH harnesses rearward.  Re-assembled and torqued.   Nancy helped while I was in cockpit on my knees facing aft, fetching a few tools and providing moral support.  Glad that's done.  Vans should advise installing harness is best done prior to installing pushrods, etc.   Last year, when I asked for guidance, they told me it wasn't important to do in any sequence.   Wrong.  Doing it early is far better.
pic after re-connecting pushrod.  Haven't installed
Snap Bushings yet.

it would be so much easier if wiring
routed prior to installing pushrods !