I've started my adventure to build a Van's Aircraft RV14a. For several years, I've been planning to build an Experimental (homebuilt) airplane - once retired.
But first, I needed to get my Pilot's License. (Kinda key !) So... first things first: I retired March 2014 from Caterpillar - and started flying lessons in the Summer of 2014. Soloed a day after Christmas, and got my Private July 2015. Shop set up, tools acquisition, and practise kits during Fall launched me into my build starting Dec 31, 2015 !

I've chosen to build the RV14a since it's about 10% larger than Van's prior models - so it fits my 6'4" frame well. Van's is well known for great value & outstanding flying qualities. It's been a no brainer decision for me. A tour of their facilities and demo flight in Oct 2013 clinched the deal. My wife - also a pilot - exclaimed after her demo flight "retire NOW so you can build one of these". The RV14a fits my mission of a good compromise between cross country & aerobatics. Plus...I fit, too.

So far, one month into building, it's been rewarding. Very challenging, but certainly a learning experience. The builder community is terrific - as is Van's tech support. I'm finished with the Vert Stab and Rudder (Jan 2016). So... with a 5 month delivery lead time, I've ordered the Quick Build Wings and Fuselage.

I hope this blog assists other new builders, just like several others have been valuable to me. Plus it will serve to document my build step by step. Please drop me a line via the "contact me" form on lower RH margin.
Update: April 2020 relocated to Wickenburg, Az to escape Illinois winters.

Thursday, May 3, 2018

Avionics

LH Common Fuselage Harness ( 3 hrs )

Started installation of LH Common Fuselage Harness - completed LH Wiring w/ snaps, LH or pilot's headphone jacks, and most Snap Bushings in center area.   Still need to open LH panel adjacent to center tunnel, so I can route wiring to Pilot's joystick.   I removed FWD elev. pushrod connection at bellcrank near Flap support so I could pass connectors for RH and LH harnesses rearward.  Re-assembled and torqued.   Nancy helped while I was in cockpit on my knees facing aft, fetching a few tools and providing moral support.  Glad that's done.  Vans should advise installing harness is best done prior to installing pushrods, etc.   Last year, when I asked for guidance, they told me it wasn't important to do in any sequence.   Wrong.  Doing it early is far better.
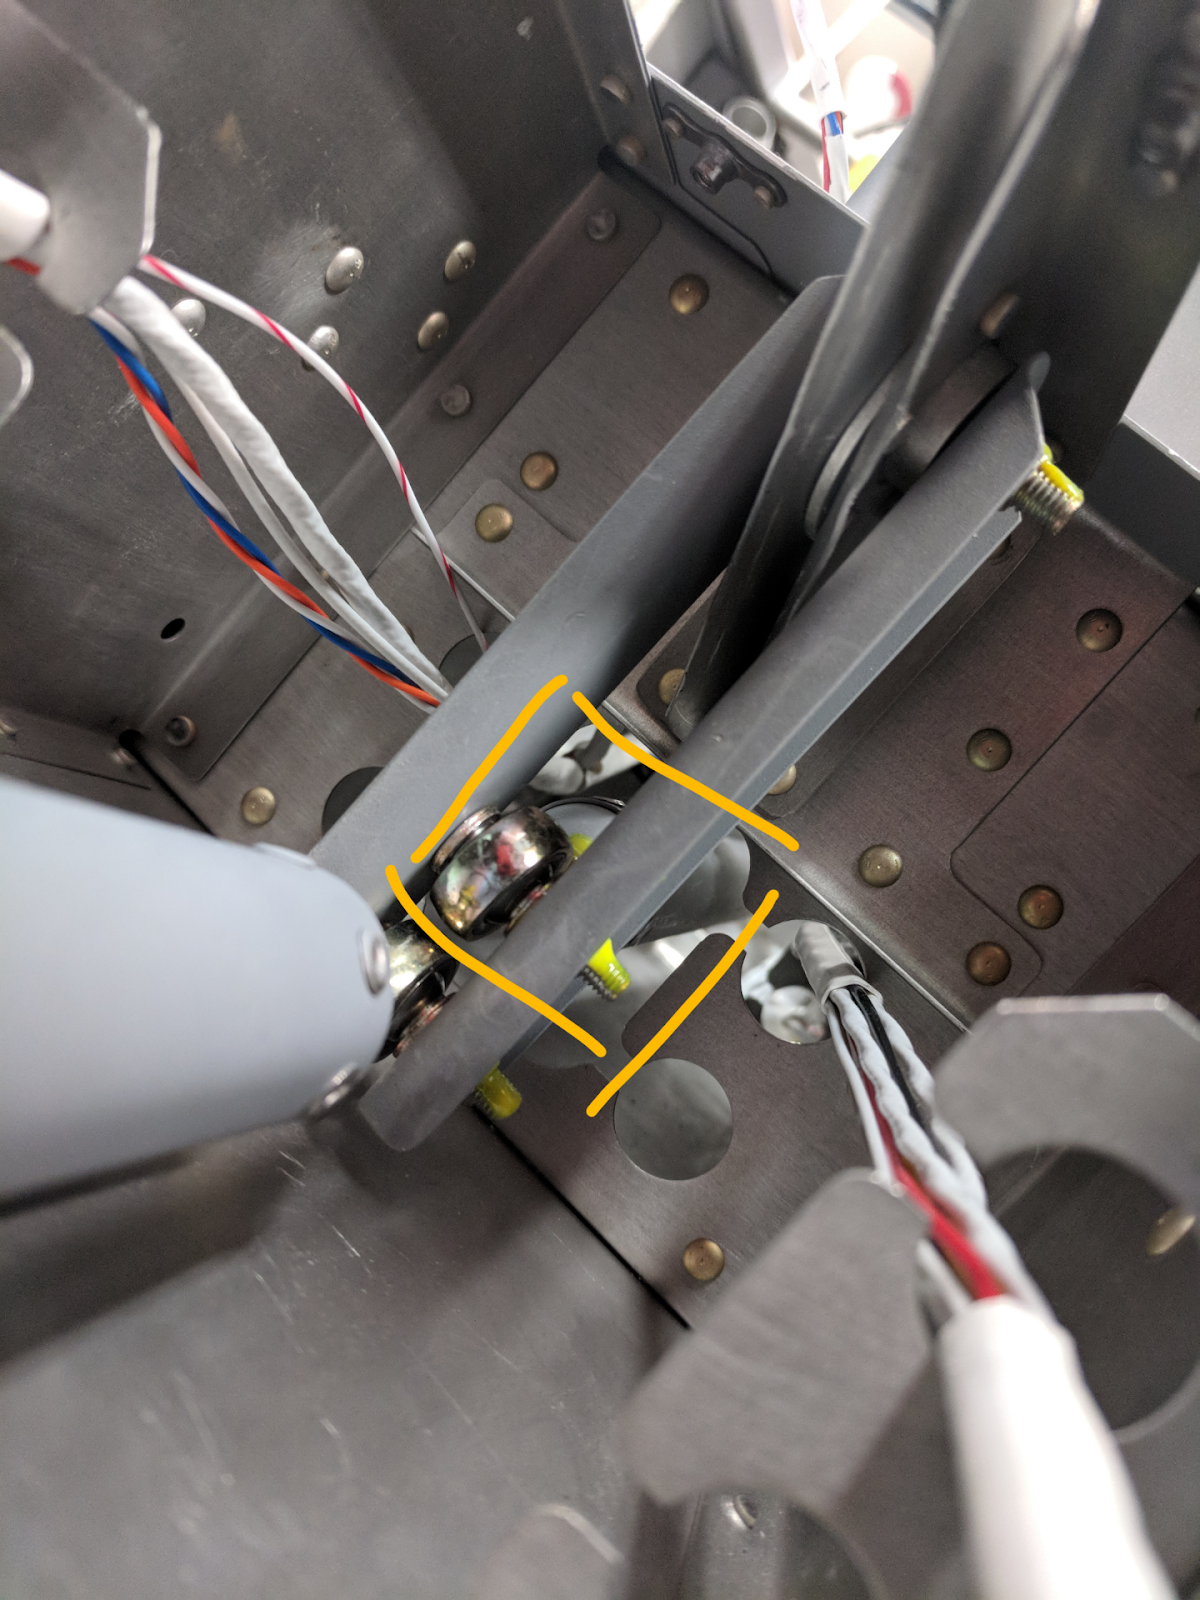
pic after re-connecting pushrod.  Haven't installed
Snap Bushings yet.

it would be so much easier if wiring
routed prior to installing pushrods !

Tuesday, May 1, 2018

Avionics

Common Fuselage Harness  cont'd  ( 5 hrs )

Cont'd installing WH00125 Right Common Fuselage Harness.  Disappointed in Vans Prod Support response:  apparently earlier version of RV14's do have an open panel adjacent to center tunnel - but it's been changed for unknown reason(s).   Ultimately had to cut panel out & deburr edges.   Then filed notches and opposite side of holes to enlarge approx 1/8" (measured holes w/ notches first, and not possible for connector to be angled through).   Very challenging even with these tweaks, but finally passed connector through all 3 holes in ribs to joystick, including inserting snap bushings.   Wow !  Vans missed design for assembly in this area...   [Other option was to remove all 10 pins from connector, and re-assemble after passing wires only.   I chose not to do that to avoid damage to micro Molex pins - prior experience shows that's a risky option.  Plus I purchased a complete harness from Stein Air, professionally assembled !   ]
created template, then used hole saw in corners.

deburred, ready to try...

success.   12 pin micro molex connector installed
onto joystick.    And... I have to do other side too.
top view.  Even with opened panel, still
awkward reach w/ minimal hand clearance.


Close up of inboard snap bushings, and next rib's snap bushing.
Ground wire not yet attached to next outboard  rib...

Saturday, April 28, 2018

Avionics

Common Fuselage Harness  ( 3 hrs )

Started installation of WH00125 Right Common Fuselage Harness per Sect 55.   Vans provides no step by step instructions, only diagrams with general routing, snap bushings callouts, and a few details.  I've reviewed other RV-14 builder logs searching for insights -which has helped.  Many locations are very tight -- getting control stick wires/connector through tunnel side and ribs seems impossible.  I'm going to have to talk to Vans prod support for tips !   Also discovered I need to detach elevator pushrod at bellcrank behind Flap support in order to pass connector rearward.  Another aaarrrggghhh...   Installing headphone & mike jacks stumped me concerning how to use stack of washers provided.  Discovered Stein Air has this video on wiring these jacks, and end describes correct way to insure no metal contact (he notes 70% install incorrectly...leading to electrical ground loops = radio interference).   Needed to enlarge forward hole to 7/16" to insure the plastic washer with shoulder fit properly !   Also found this video explaining how to avoid electrical ground loops.

1 of 2 WH00125 harnesses purchased from Stein Air


routed wiring to Right wing and headphone/mike location
Not done with main line fore and aft...

under the right seat area toward wing

headphone and mike jacks installed

right Wing wiring "ready"

Yes...headphone connected..

Friday, April 27, 2018

Firewall Forward Kit

Completed Oil Cooler Install, Sniffle Tubes,  Cooling Blast Tubes, Routed Spark Plug Wires ( 4 hrs )

Completed torquing Oil Cooler hose fittings, since new 7/8" crowfoot arrived.  Needed variety extensions & U-joint due to tight, awkward locations between engine and firewall.  Installed 4" SCAT tube for Oil Cooler per 49-15, Steps 2-5.  Sweet!   Final torqued fittings on MAP hose and sensor with final routing adjacent to 4" SCAT.  Cut Cooling Blast Tubes to 9" lengths, installed at Baffles per Steps 2 & 3, Sect 47-24.  Wait to secure after other routings done.  Completed preliminary routing Slick Magneto plug wires to T2 and T4 (top cyl's 2 & 4), and PMAG wires to T1 & T3 (top cyl's 1 & 3) through Baffle Back Plates per 47-24.  Built Sniffle Tube & Hose Assly per Steps 1-4, Sect 49-17.  Interesting technique to first flare alum tube end, then grind down to provide bead to retain hoses.
challenging to access AN8 fittings on Oil Cooler hose 

4' SCAT tube installed. 
Torqued fittings on MAP line with T to PMAG.

PMag top plug wires routed through Baffle plate. 
Cooling Blast tubes (black) installed (not retained yet)

Slick Magneto plug wires to Cyl #2 & #4 routed.

created Sniffle tube...install after exhaust added...

Thursday, April 26, 2018

Firewall Forward Kit

Cooler Tray installed ( 3 hrs )

Installed the Oil Cooler Tray to the Firewall and Engine Mount following Steps 3-6 at 49-08, including adding actual Oil Cooler and Inlet Assembly.  Connected hoses to Cooler per 49-13 -- but waiting delivery of  7/8" crowfoot to apply final torque.   Started build of 4" SCAT duct per Sect 49-15, Steps 1 & 2.   Letting hi-temp RTV cure before assembly to Cooler.
Tray bolted in place
checking alignment of Cooler


Tah Dah !   Sealed remaining gaps, too.
from opposite side through maze of hoses,
engine mount.  Not final torqued...yet.


good clearance around hoses...although pic
doesn't show well
 

4" SCAT cut to length, applied RTV along entire length for "stability"

Tuesday, April 24, 2018

Firewall Forward Kit

RTV at Baffles, Oil Cooler  ( 3 hrs )

Finished applying Hi-Temp RTV to baffles.  Replaced "gage port" on Fuel Spider per Steps 1 & 2 at Sect 51-06.  Installed oil hoses VA-190 per Steps 1-3 at 49-10, and FF00020 per 49-13 while more accessible prior to mounting oil cooler. But... need 7/8" crow foot to torque these size 8 AN fittings.  Completed Step 1 at 49-07 installing (2) 8D fittings on Oil Cooler at specified angles [ Vans confirmed OK to use provided Alum fittings, although manuf'er recommends steel fittings to avoid chance of galling].   Added (2) P-seals to Cooler per Steps 2-5 at 49-07 using clear silicone (per instructions).
filling small gaps with hi-temp RTV.
 

Oil cooler hoses mounted to engine...

replaced "gage port" with plug

AN8D fittings installed, clocked to specific angles

P-seals added with clear silicone.

Monday, April 23, 2018

Firewall Forward Kit

 RTV sealant on Baffles.  Oil Temp Sensor moved ( 3 hrs )

Applied Hi-Temp RTV at Engine to Baffle small gaps per Sect 47-24, Step 4.  Van's Eric Rushing (Prod Supp) confirmed error in instructions at Sect 43-05 for Garmin Oil Temp Sensor.   I discovered different location shown in Sect 51-06, which is closer to the oil filter.   Apparently Vans has been aware of error, but hasn't yet issued revision.   Aaaargggghhh !     Of course I followed instructions in Sect 43, when I had easy access to back of engine prior to installation.   To relocate, required removal of Breather tube, and re-do of safety wires.   Apology from Vans accepted...kind of.  Aaaarrrrgh.....
pic of original location.  investigating what to do with red plug 
led to discovery Vans has error in Sect 43-05.

after moving Oil Temp Sensor to correct location (Sect 51-06), 
and re-installing plug with safety wire.  Safety wire not required 
per Vans, but Sensor has provision, so I installed.   Would have
been whole lot easier if Vans had instructions correct !

red hi-temp RTV sealant applied